After a long time, we have another storage solution to share with you all. This one is more for all you DIY enthusiasts out there, as this article will include some cutting templates to recreate Nimral’s storage solution for yourself. As always, if you have a way to store your game in a different manner than has been put on display in the Storage Hub by the community so far, reach out with your solutions, and we can get you your own article up!
I’m pretty sure most of us collectors must have some sort of dragon blood coursing in our ways, considering the joy tinkering and thinking about our hoards give us. Part of that is, at least for me, coming up with a practical storage solution that nonetheless still protects the cards while showing off the aesthetic side if our lovely game. After having finally gotten the revised Return of the King saga expansion, I’ve decided to write up what I came up with and share it with the community.
After seeing what others were doing for storage, I realized nothing quite fit my needs and wants and I’d have to get creative. My goal was to find a storage solution that would fit all of the FFG content including all Nightmare Decks, and at least currently available ALeP expansions, while keeping costs down to a minimum. Another issue derived from the fact that I was using Dragon Shield matte card sleeves, which are noticeably wider and thicker than other options (at least as far as I was aware).
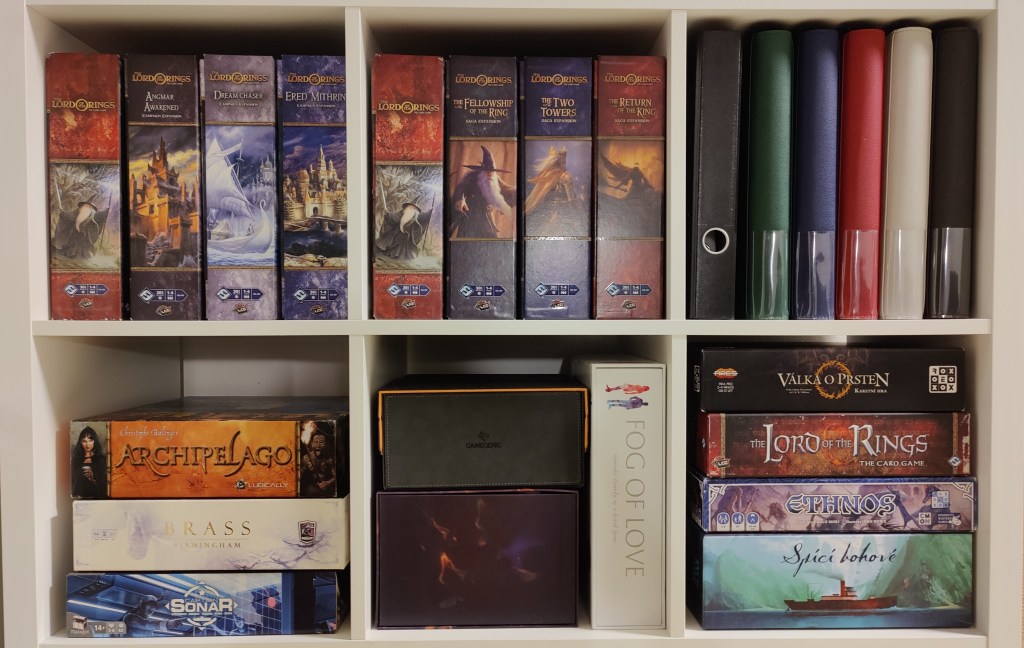
Having written all of that, without any further ado, here’s how I store my stuff.
Quests & encounter cards
Since I own everything that was revised in its revised form, using the large revised campaign/saga expansion boxes was a no-brainer. However, I quickly realized that the provided insert wouldn’t do: the rounded corners of the trays were damaging my card sleeves, the Tesseract dividers I had already bought didn’t fit well with the Dragon Shield sleeves, but worst of all, the inserts were inefficient, since they allow only a part of the boxes’ volume to be used for the actual storage. Therefore I designed a foam-core/foamboard insert, which my loving girlfriend/architect was kind of to convert into a pattern (available here) and cut using a laser cutter. If anyone wants to utilize our design, here’s a quick guide, although I think it should be pretty self-explanatory:
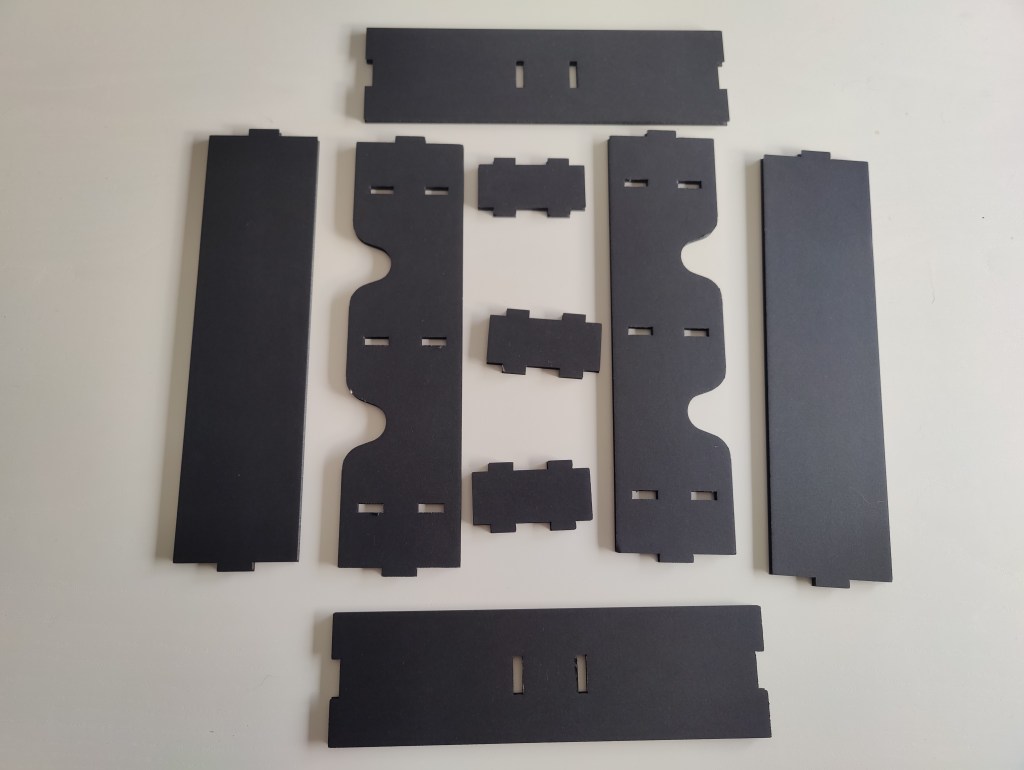
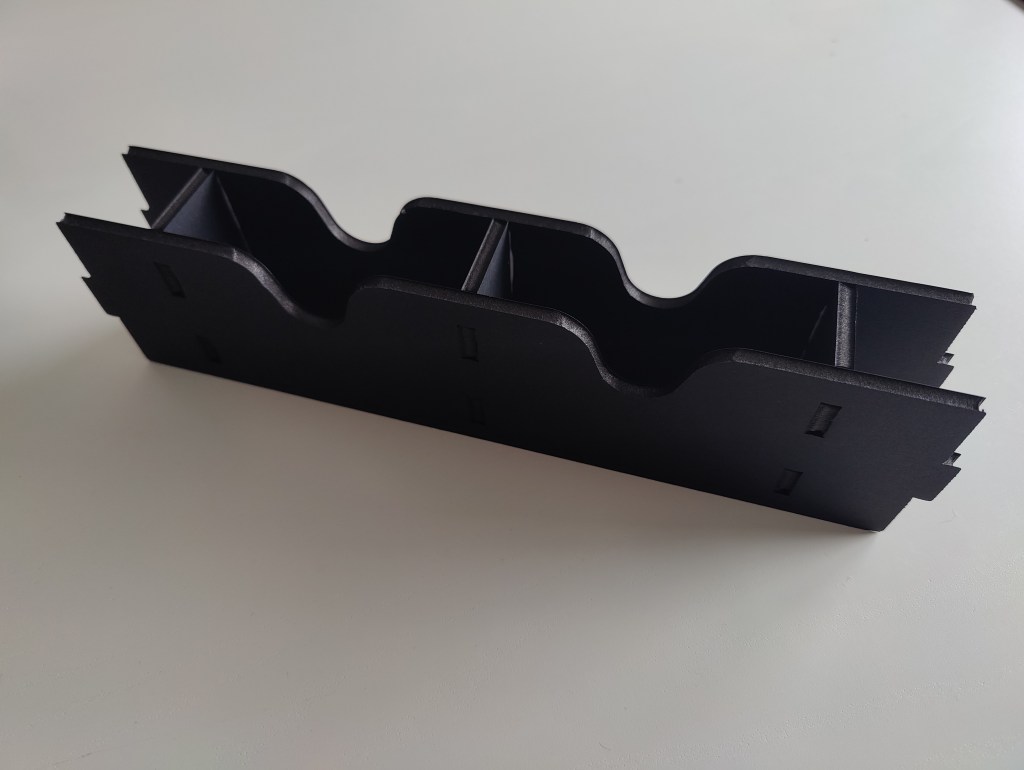
How the pieces fit together

Glue the small dividers onto the middle console, first one side, then the other.

Insert the middle console into the shorter sides, then complete the insert with the larger sides.
Two notes: first, while you can glue everything together, I prefer only glueing the middle console (as shown above). The rest will be nicely kept tucked together once inside the box while being easily removable (without the need to damage the box or the insert during the process). Also, the insert stays more flexible, with a bit of a “give”, which can ease the accessibility of tightly-fit cards. That leads me to my second point: the insert in the pictures is actually an older design. In the final version, I’ve included additional indents for easier access to the cards in the main trays. The pattern provided is the newer version; I just haven’t gotten around to replacing and updating my own inserts. Life’s been crazy lately!
For the final adjustment to align all my storage accessories with each other, I cut the Tesseract dividers with a craft knife to a specific size. While the “whole” dividers wouldn’t fit inside the revised boxes, tearing along the perforated line kept the dividers too short, with only part of the actual text showing above the sleeved cards. Therefore, after some measuring I cut the dividers through the middle of the text diamond (located on the tear-off part, shown on the following picture).
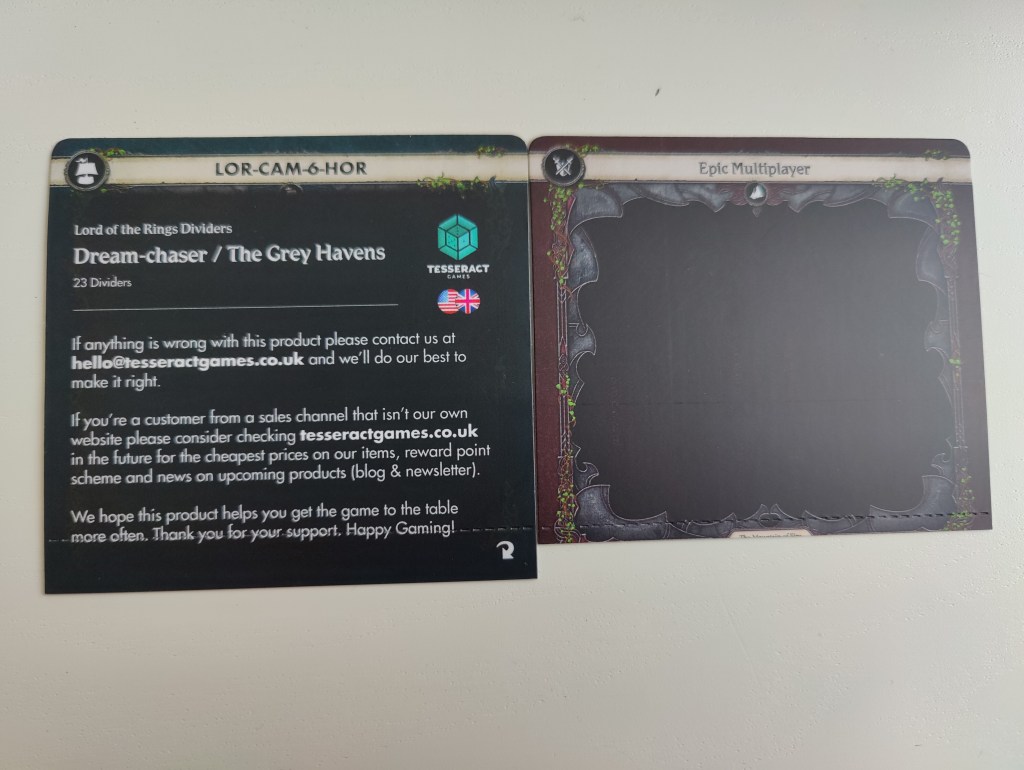

When cut so, the dividers fit perfectly, showing off the icons and text
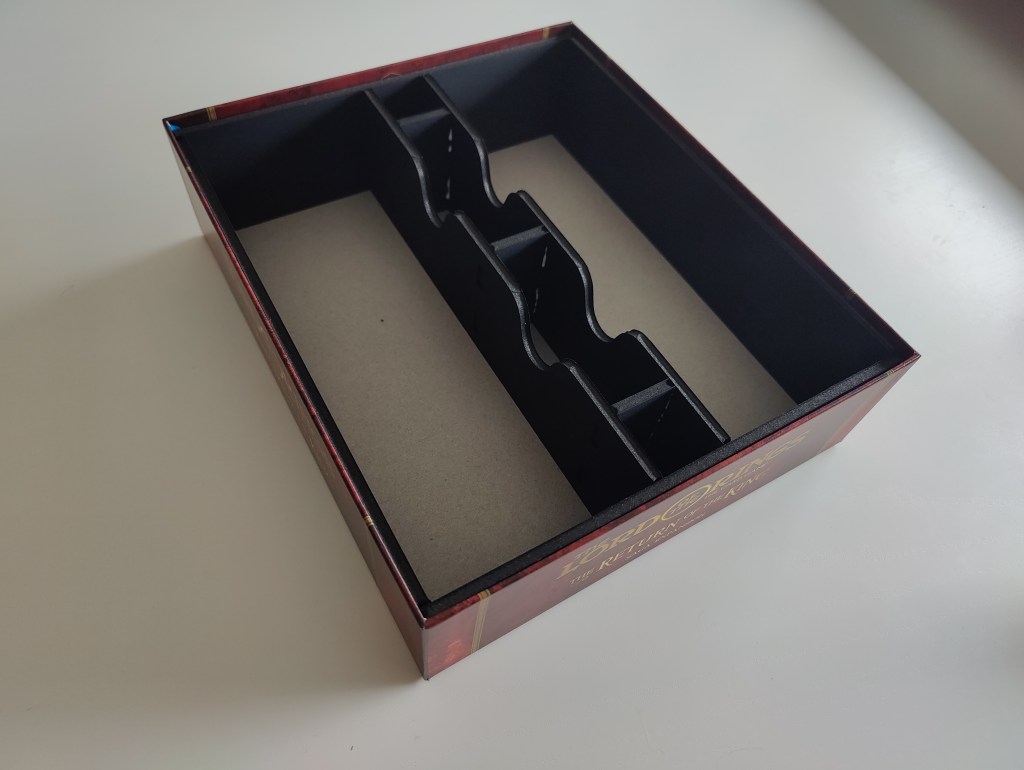
Repeat the described process 7 times and you have an insert that fits the whole collection while satisfying my goals! I believe it might also be useful to players who have only the revised content as it allows a more efficient use of space (while being kinder towards the corners of sleeves).


Well, 8 times for me – I tracked down a second revised core box to fit 2 ALeP content (can’t wait for the Doug Beer order coming up in March!)
Player cards
For the players’ side of things, I’ve kept it pretty simple. I double-sleeved all player cards to keep them safe from an accidental spillage (I also like to alternate between different art card sleeves), so I’ve decided to keep the out-of-current-use cards in the inner sleeves in the Dragon Shield Albums (XL Zipsters), one colour for each sphere (white substituting the Leadership’s purple) and a black one for Heroes, Neutral, Baggins, Fellowship and Master cards, with each card being in its own pocket. While this is more expensive than having a single album for all cards (with 3 cards per pocket), it allows me to deck build quickly (the cards in inner sleeves slide in and out of the pockets smoothly) while having the cards available for comfortable browsing.
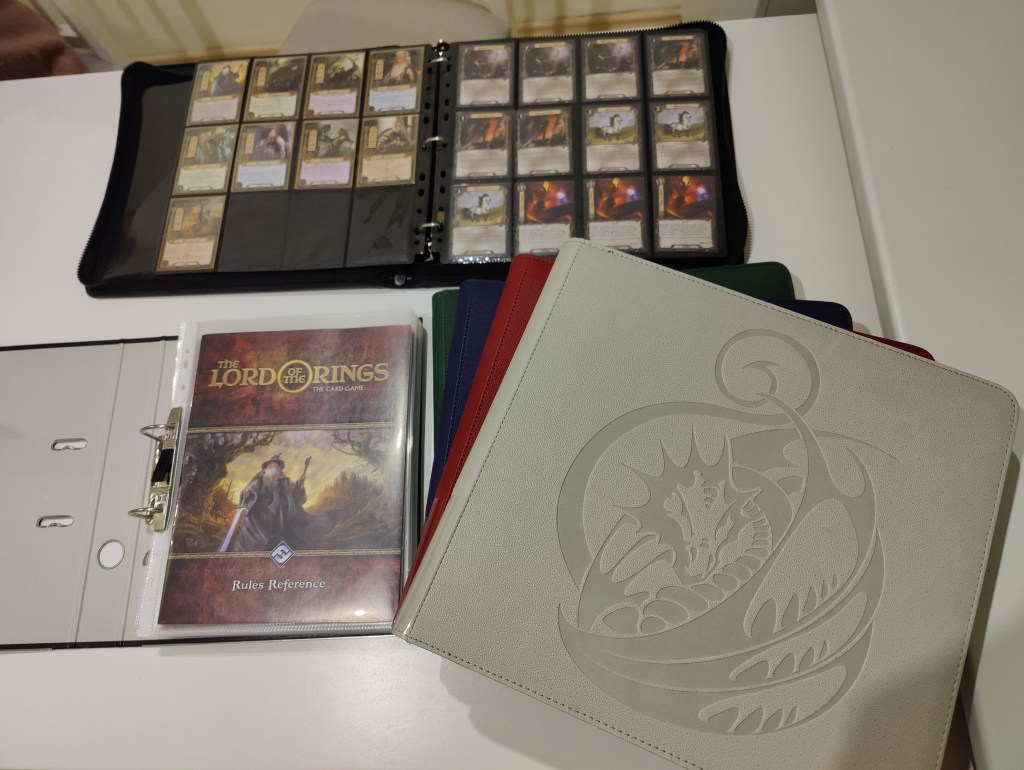
(Also pictured is an ordinary D-ring binder in which I keep all my rule books & inserts)
Currently being played stuff
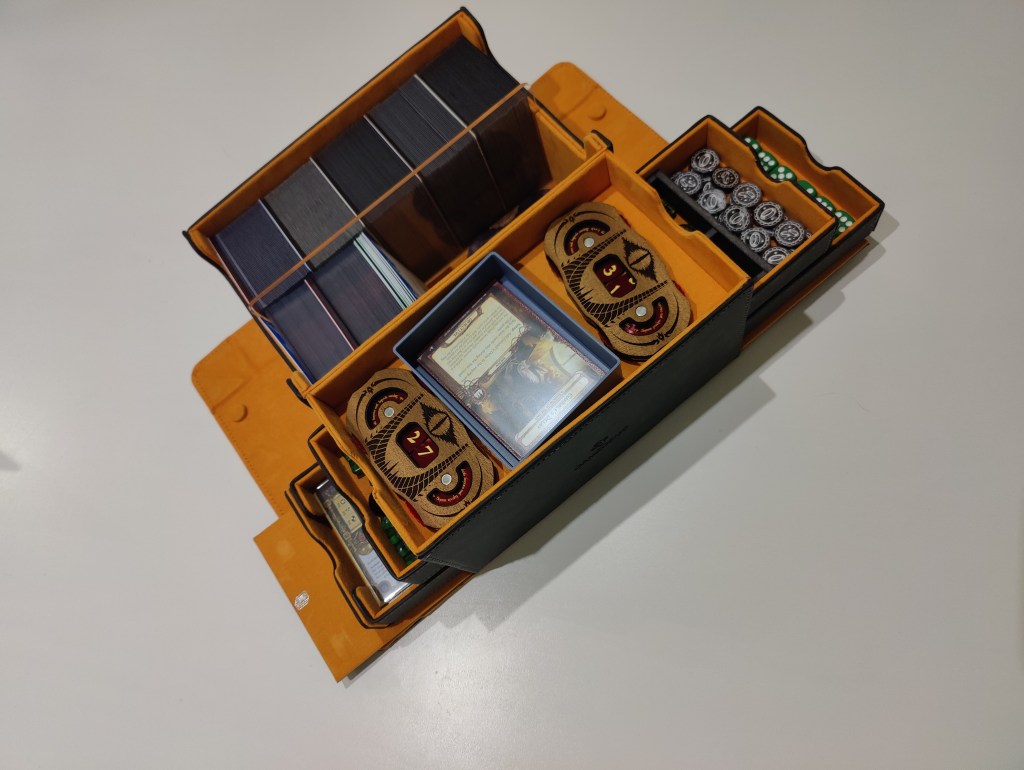
Lastly, I couldn’t resist getting the Gamegenic Card’s Lair 600, which allows me to keep my currently built decks together with the quests I’m planning to play and a plenty of sideboard, and all of my dice, tokens, and threat counters. I’m considering getting another one to store basically all my other card games – seriously, I cannot recommend this thing enough!
Conclusion
And there it is! I hope the described storage solution (especially the custom insert for revised boxes) will be useful to some of you while providing some entertainment for my fellow dragon-blooded hoarders.