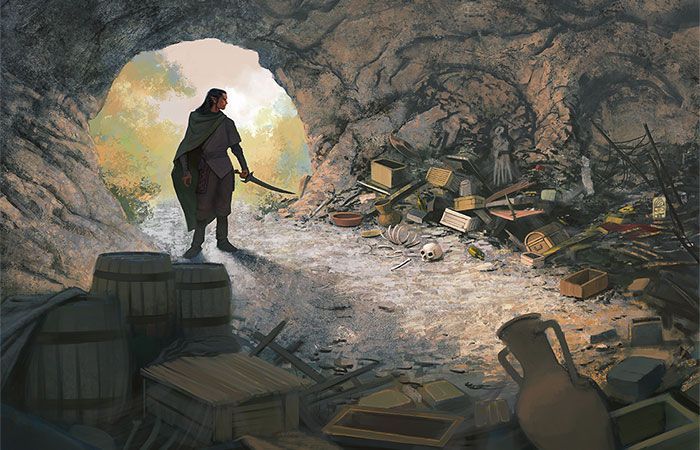
Having escaped the Dungeons of Mount Gram, our heroes continue their journey that leads them Across the Ettenmoors. An area whose danger lies in being exposed to the forces of nature, but also in the Trolls and Giants that inhabit it. Luckily, there are some safe places to be found to shelter our heroes.
While I like the theme of this quest, I have never been the biggest fan of Across the Ettenmoors; it’s my least favorite Scenario of this cycle. I always found it to be a bit dull. That might be because it’s on the easier side of things, but perhaps also because both The Weather Hills and The Wastes of Eriador have focused on the Foul Weather encounter deck, and are more interesting with their respective Orc-deck or Day/Night mechanic. This is not a bad quest in a vacuum, but it falls a bit short compared to the former two. I won’t talk about the mechanics in detail; a description can be found in the analysis article.
Initial Deckbuilding
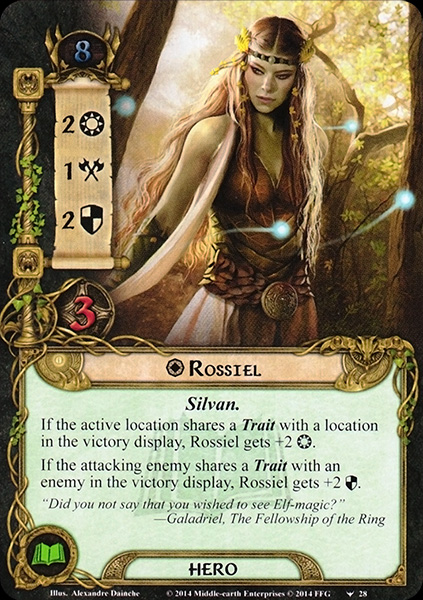
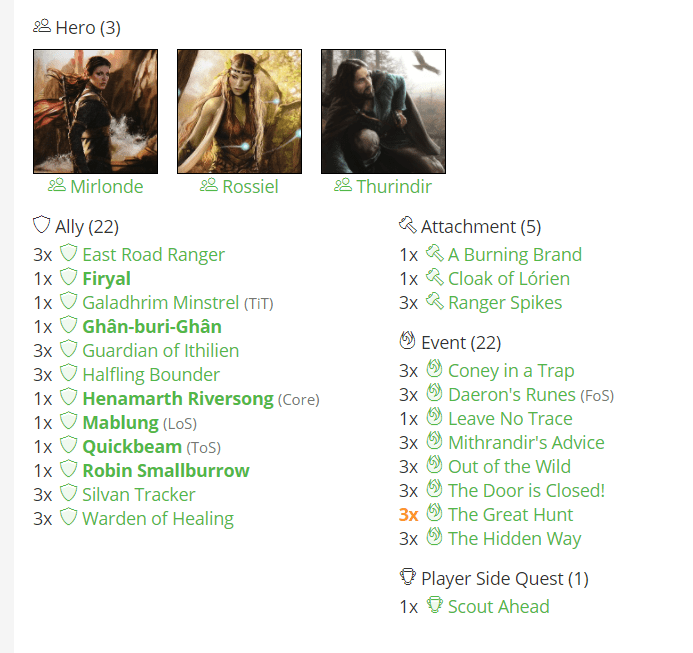
When deciding what deck to build for this quest, I was immediately driven to the Lore sphere. Healing is a necessity, and one efficient strategy for this quest I used in the past was avoiding engaging those big enemies instead of fighting them, and Lore has some tricks to help with that. I ended up with a Rossiel Victory display deck. This archetype was introduced in the Angmar Awakened cycle, so I thought it would be fun to bring it at some point, and while it’s not a powerhouse for solo play, it might have a fair chance against this quest. You can also remove enemies from the encounter deck with Out of the Wild and then cancel them with The Door is Closed! It synergizes with the “avoid combat” strategy. Here is a picture of my initially drafted decklist:
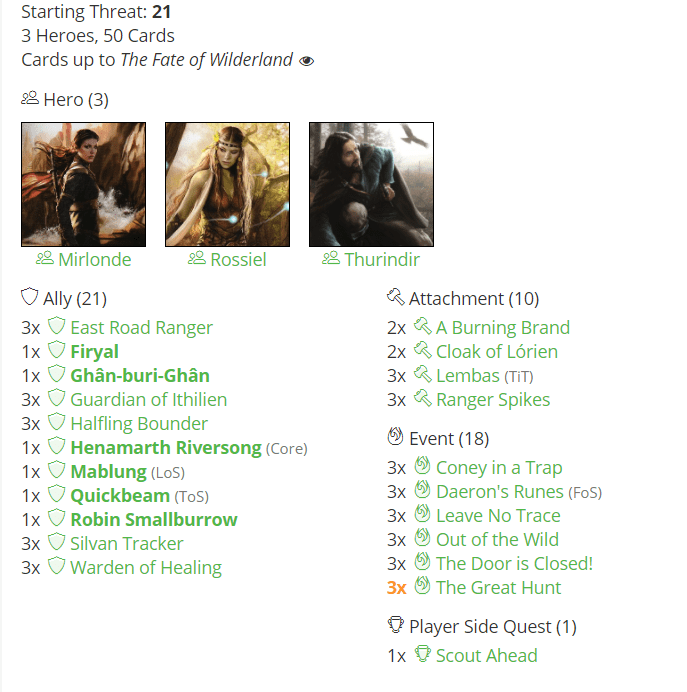
I toyed a bit around with the hero line-up, but finally decided for Mirlonde and Thurindir as the best companions for Rossiel. Mirlondeis here for the low starting threat to avoid engaging enemies, and as a Silvan, they can take advantage of Silvan Tracker to double down on the healing. While I thought about bringing a Hobbit hero to start in secrecy, I decided that Thurindir‘s willpower boost that he gets from the encounter sidequests and his extra hitpoints are more useful. His ability to fetch a sidequest isn’t as good because of the encounter sidequests we have to deal with, but at least it thins a card and can be discarded fodder for Daeron’s Runes.
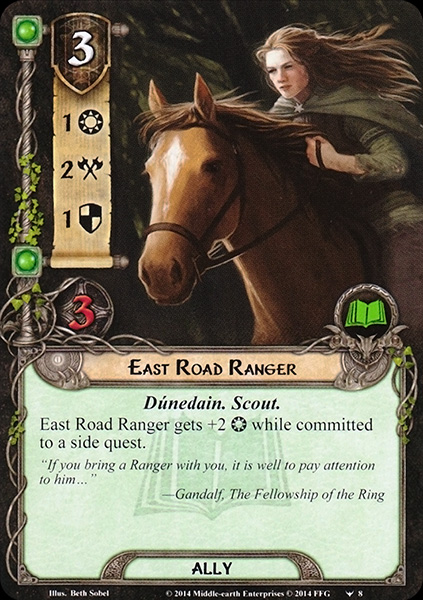
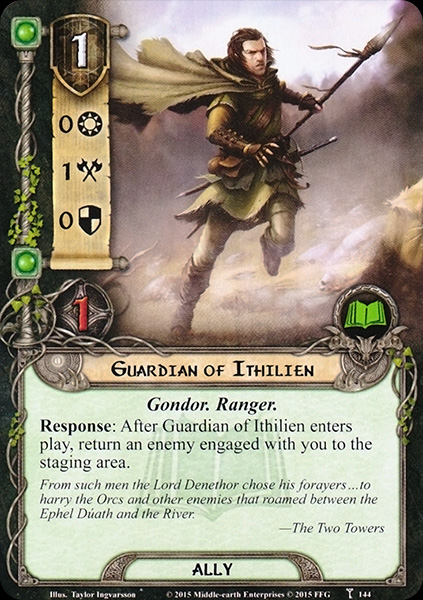
Speaking about encounter sidequests, I included East Road Ranger and Halfling Bounder to take advantage of them. East Road Rangers are especially useful on stage 1 where we have to explore sidequests to advance, and Halfling Bounders‘ ability will be active early, and cancelling an Arador’s Bane can save us from being attacked in the early game. A similar role has the Guardian of Ithilien, who can return an enemy we’re forced to engage to the staging area, and if we still end up with a high attack Troll or Giant, he’s a cheap target to throw under the bus. The other allies are the usual efficient Lore questers, and with Warden of Healing, the best healing card in the game.
The events and attachments are mainly here to set up Rossiel. Once we get a Troll enemy in the Victory Display with Out of the Wild, attach a Cloak of Lorien and Burning Brand to her. She can take a stand against even a Ruthless Hilltroll that we probably will have to engage at some point. Leave no Trace can boost her willpower, and with Lembas, she can use it and still ready up in an emergency.
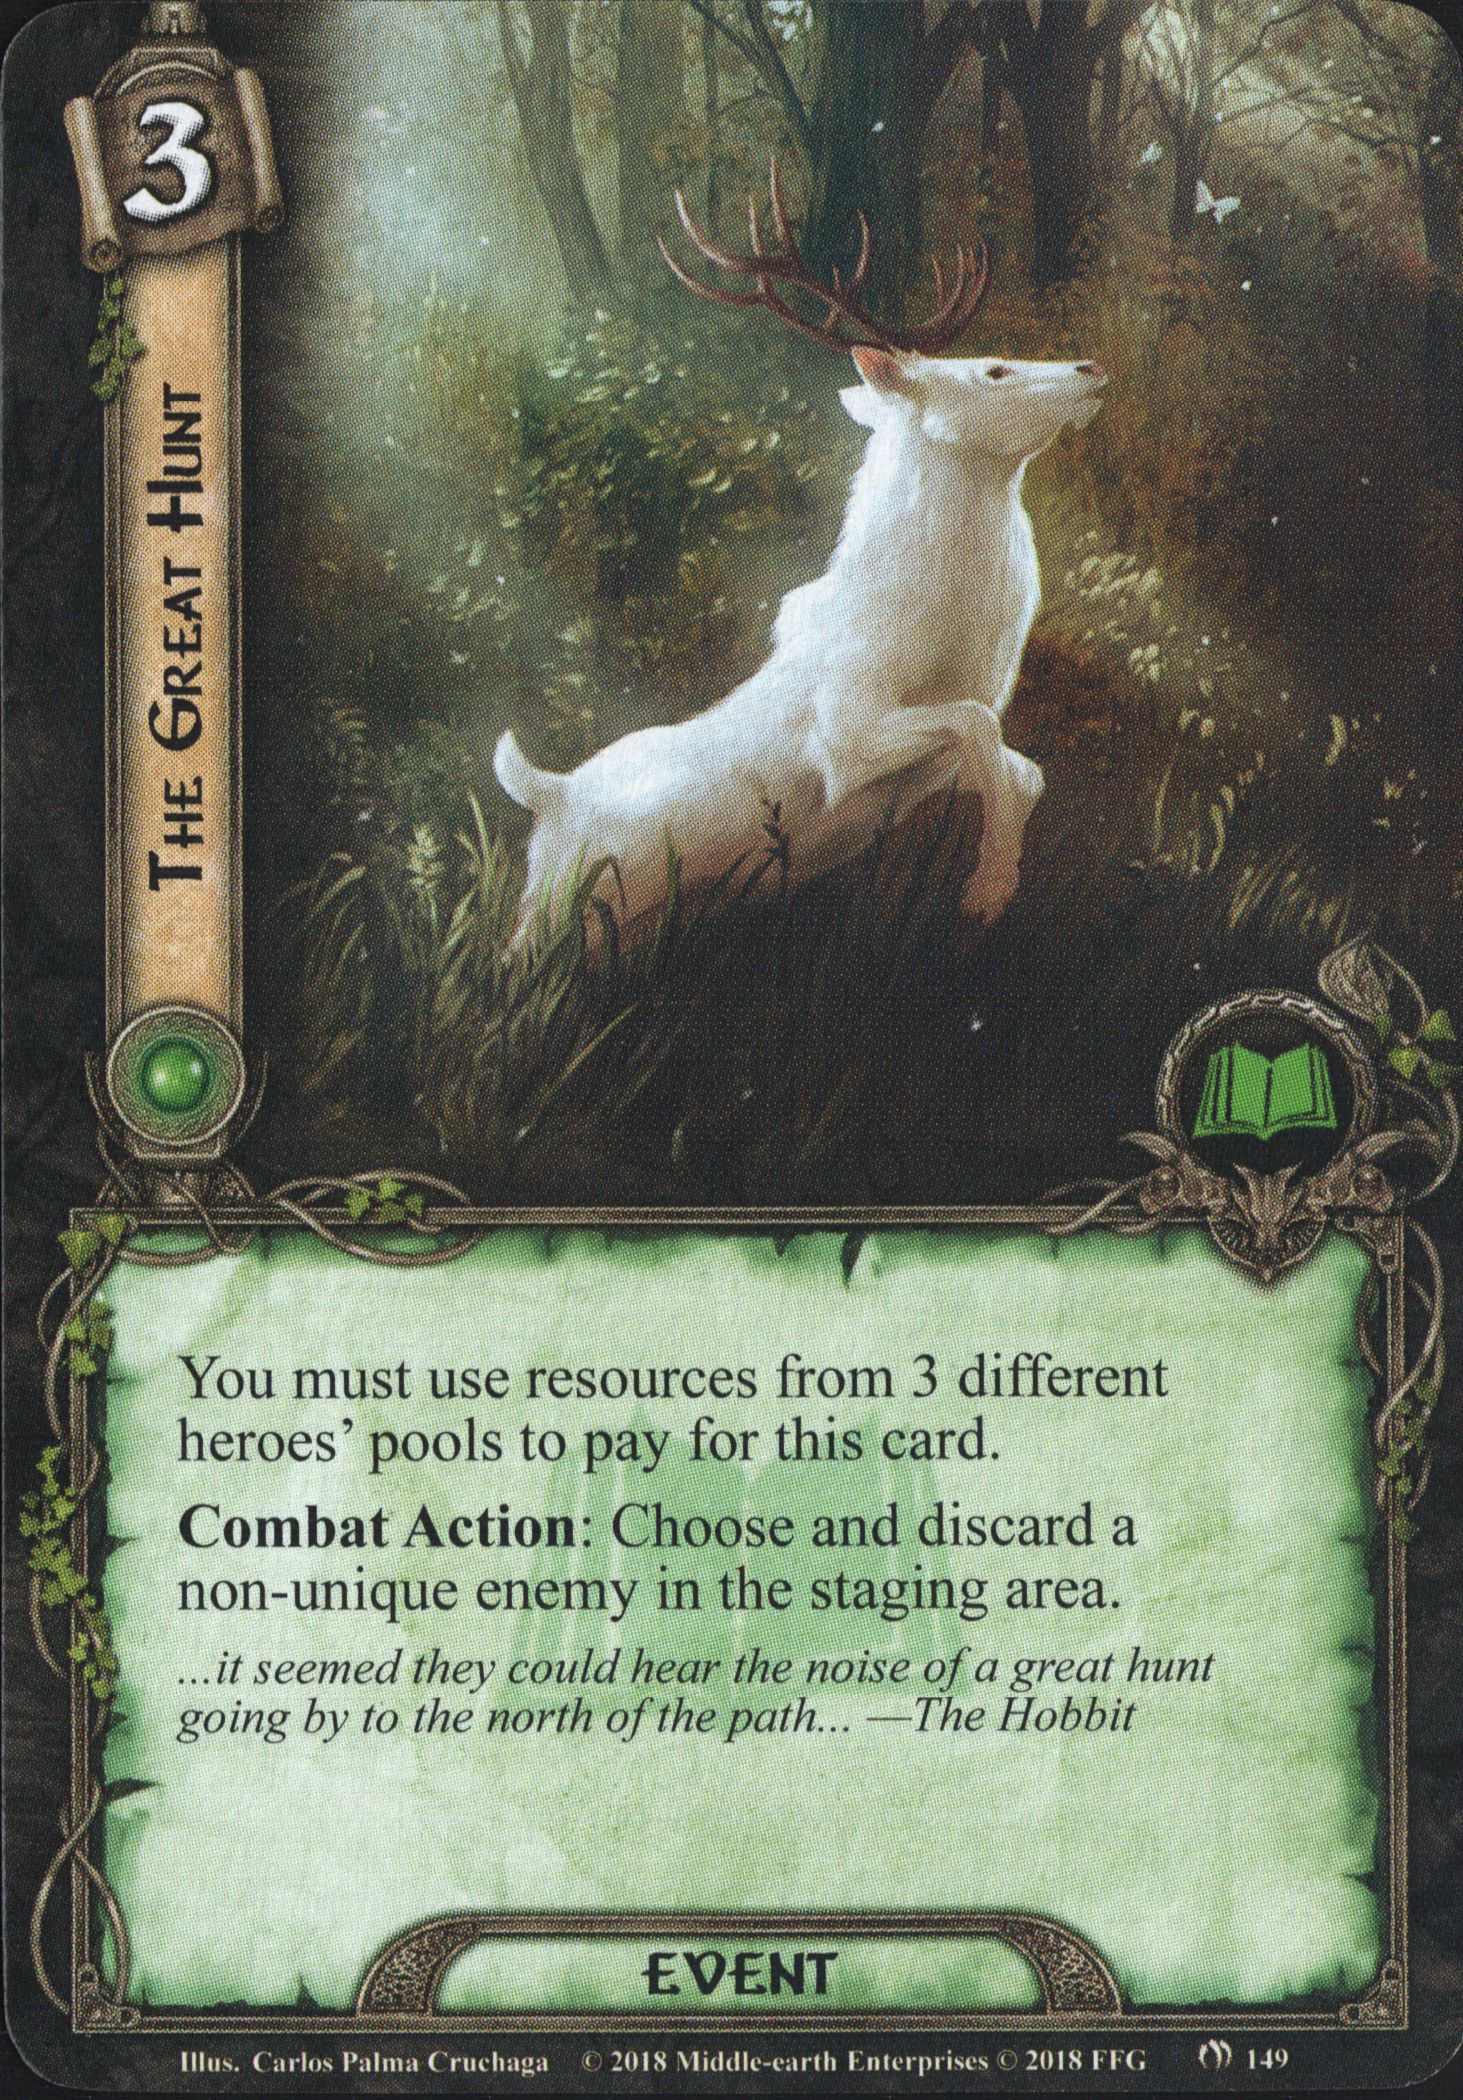
However, there are also other ways to deal with enemies. None of them is immune to attachments so that Ranger Spikes can trap anything permanently. Coney in a Trap takes advantage of Amarthiuls Warrior trait to cancel an attack, but the biggest one is The Great Hunt, which can get rid of even the biggest Troll or Giant and makes a mono-Lore deck worth playing.
Playtesting
With all these tricks available, I felt pretty comfortable to defeat this quest… and lost my first run on stage 2. There were a couple of unlucky things coming together. I had to start against Forage for Food that deals damage to heroes when they spend a resource, and in combination with 2 copies of Biting Wind damage piled up on my characters quicker than I could heal it. This would have been fine on its own, but on stage 2 the encounter wrecked me. I quested against Lie Low when I revealed a Freezing blast. I didn’t make progress with most characters removed from the quest, so all enemies got -20 engagement cost. Two Savage Trollspawns swinging for 6 attack were way too much for me to handle at this point, so I had to scoop.
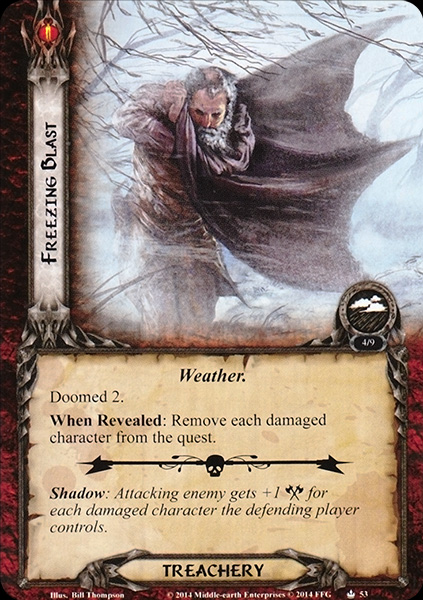
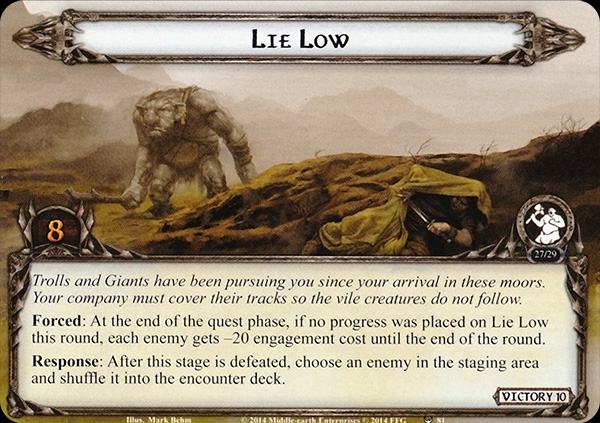
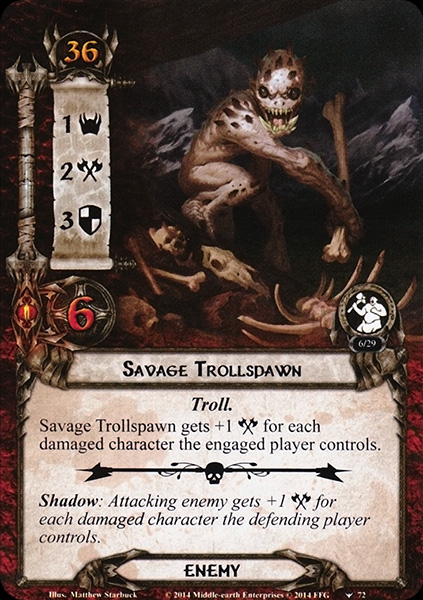
The encounter deck pulling of the combo…
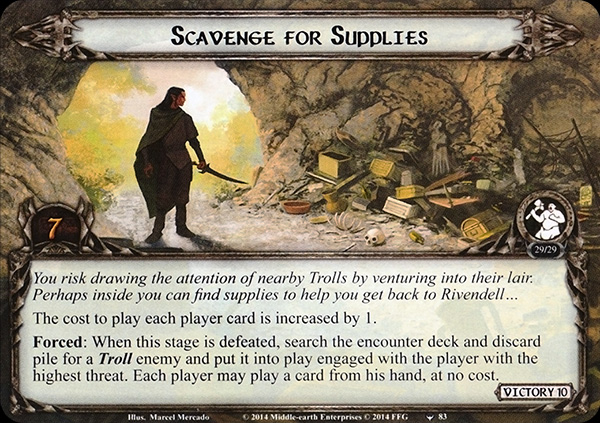
My next 2 attempts went better, also thanks to starting both times with Scavenge the Supplies as the first sidequest. While more expensive cards are annoying, it’s more manageable for a mono-sphere deck than the damage. I turtled on this and slowly got my allies out (once even exploring Scout Ahead first) until I was ready to deal with the Troll that engaged me when exploring the sidequest. The other good thing about this strategy was that there were now multiple safe locations in the staging area that would help me during stages 2 and 3. Then I wouldn’t have to reveal extra encounter cards or have my characters lose willpower. Between my allies, Thurindir’s, and Rossiel’s boosts, I had enough willpower to race through these stages rather quickly, and with a Halfling Bounder canceling an Arador’s Bane, I once didn’t have any combat aside from a wimpy Goblin Pursuer engaging me. During the other run, I had to engage some bigger enemies because my threat got too high, but with Rossiel being set up, I could block them until I made it out of the Ettenmoors.
Adjustments
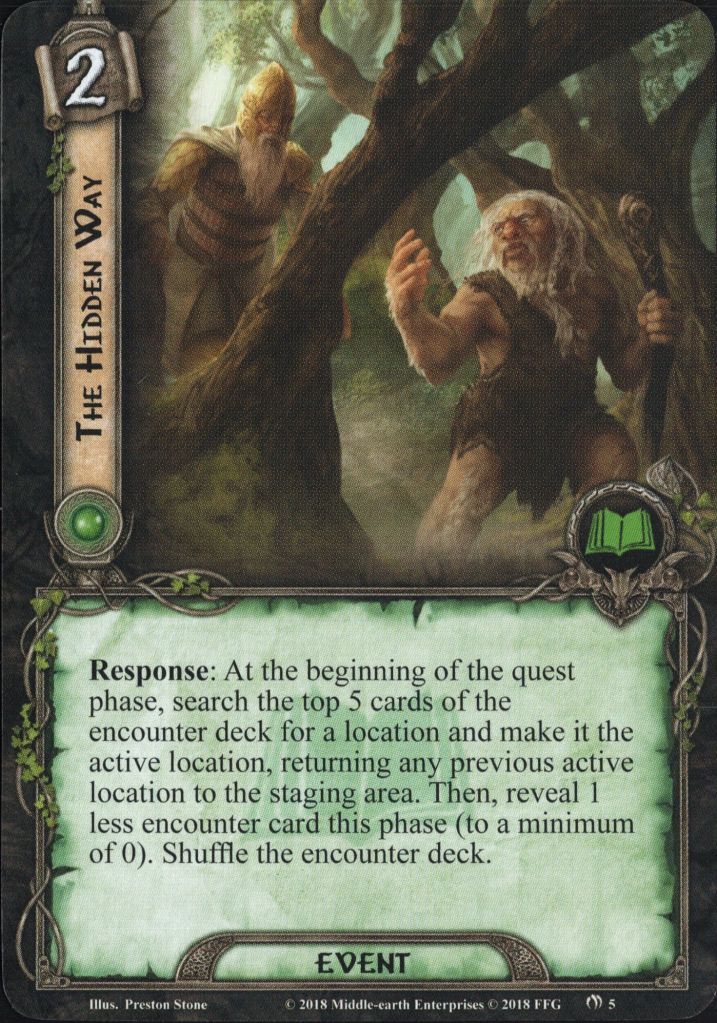
While losing mainly to a bad combination of encounter cards, I really wanted a 3 out of 3 win rate against this quest. While the core of the deck worked, I found there still to be some room for improvements. Mainly I wanted to include two cards I overlooked in the first place. Mithrandirs Advice is an awesome draw card I simply forgot about because I don’t play mono-Lore decks that often. The other one is The Hidden Way because locations never were big trouble during my first playthroughs, and I rather don’t reveal enemies or treacheries. I’m not sure if you can grab Safe Locations with it, so I won’t do that cause it seems to break the quest, but it still seems absolutely worth it.
Wanting to ad three copies of both these cards, I had to make six spaces to stay at 50 cards. The cards I took out were two copies of Leave no Trace and three Lembas. While setting up Rossiel to quest and defend is nice, it’s not really needed and doesn’t help early on. The healing from Lembas also doesn’t make such a difference between the huge amount of damage dealt by the encounter deck and my Silvan Trackers and Wardens of Healing. If I can get them out, I’m fine, and otherwise, 3 points of damage won’t make the difference. I also cut one Cloak of Lorien and Burning Brand cause they are only needed late game, and added a Galadhrim Minstrel as my final card cause I have a lot of different events. Here’s a picture of the decklist with all the changes, and I’ll name it The Great Troll-Hunt.
With these adjustments, I was able to win my three next games. I once was worried cause I started again with Forage for Food, but I got out a Silvan Tracker and Warden of Healing immediately so I could keep the damage on my heroes under control. During my second run, I discovered an awesome trick: When I was forced to engage an enemy by the effect of Scavenge for Supplies, I chose to play a Guardian of Ithilien as my free card and pushed it right back to the staging area. In the combat phase, I could then get rid of it with The Great Hunt. It’s always awesome when you tech a card for a specific quest, and it really makes the difference!
Turns out the encounter deck is not the only one who can pull of combos!
On my final run, I had some problems during stage 2 because I did not have enough safe locations to travel to, and I had to reveal multiple encounter cards per round. The MVP card turned out to be The Door is Closed!, cancelling a Coldfell Giant and allowing me to push through stage 2. I didn’t have too many damaged characters, so I was able to quest through stage 3 in two more turns.
Conclusion
This was probably the most fun experience I had with this quest! It was more challenging than I remember it, but that might be because I played it mostly in multiplayer before, where it’s much easier to race through these (side)quests and the extra card on stage 2 doesn´t hurt as much.
I enjoyed the Victory Display/Avoid engaging enemies archetype as well, it’s fun to deal with enemies in I enjoyed the Victory Display/Avoid engaging enemies archetype as well. It’s fun to deal with enemies in more unconventional ways than bringing a big defender and a swarm of attackers. It works better in multiplayer, but against an easier quest, it can still carry you through a solo run. The A Long-extended Party project released a new hero that supports the archetype, and I can see how he would fit in this deck and look forward to using him at some point.
I will next move on to The Treachery of Rhudaur. It’s a well-balanced quest that seems to be popular by the community, but I haven’t played it that much and not at all in a long time. I’m looking forward to tackling it with a modern card pool and see what options might work well against it.

One thought on “Deckbuilding: Across the Ettenmoors”