We have arrived at the most difficult quest from the Core Set: Escape from Dol Guldur. I have to admit, I was quite nervous about this quest when I created my ultra-campaign. Dol Guldur is notoriously difficult for solo players, and the deckbuilding restrictions that my campaign rules introduce do not make matters easier. My only hope was that FFG’s revised campaign rules for the Mirkwood Paths mini-campaign would be sufficient enough to give me the possibility of success. Without further ado, let’s get to my deck-building, strategy, and ultra-campaign playthrough experiences for this quest!
Escape from Dol Guldur: Deckbuilding
Deckbuilding Restrictions
Since I have now completed two quests of a mini-campaign, the exhaustion rule of my ultra-campaign states that there are 2 heroes and 10 player cards that are not available for use until the beginning of the next mini-campaign. Meanwhile, Aragorn and Theodred must be used in this quest since they were used to defeat Journey Along the Anduin last week. Here is a summary of all the restrictions going into this quest:
- Required heroes:
- Aragorn (with the Valor permanent attachment)
- Theodred (chosen as prisoner at the end of Journey Along the Anduin)
- Exhausted heroes:
- Exhausted player cards:
- 1x Dwarven Tomb
- 1x Wandering Took
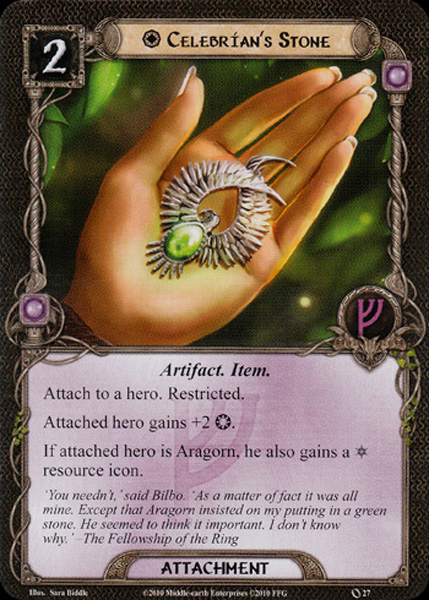
- 2x Celebrian’s Stone
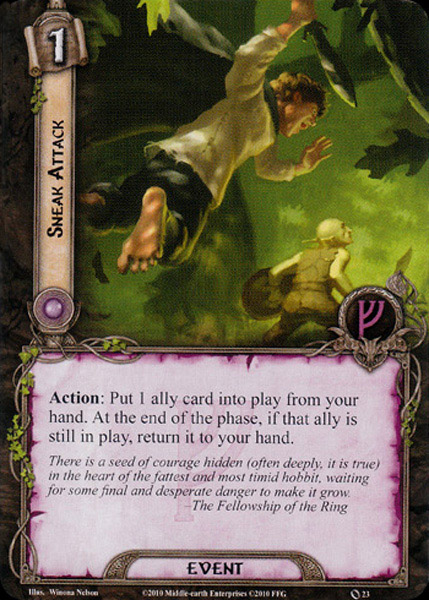
- 1x Sneak Attack
- 1x A Test of Will
- 1x Gleowine
- 1x Henamarth Riversong
- 1x Self Preservation
- 1x Steward of Gondor
Heroes
Thinking back to the many, many times I have played Escape from Dol Guldur, I am pretty confident that I have never attempted this scenario without Eowyn in my hero lineup. Her 4 willpower makes her the go-to quester from the Core Set, but unfortunately for me, she was chosen to be exhausted last week. Even worse, I can now only include one copy of Celebrian’s Stone in my deck, which makes questing even more difficult.

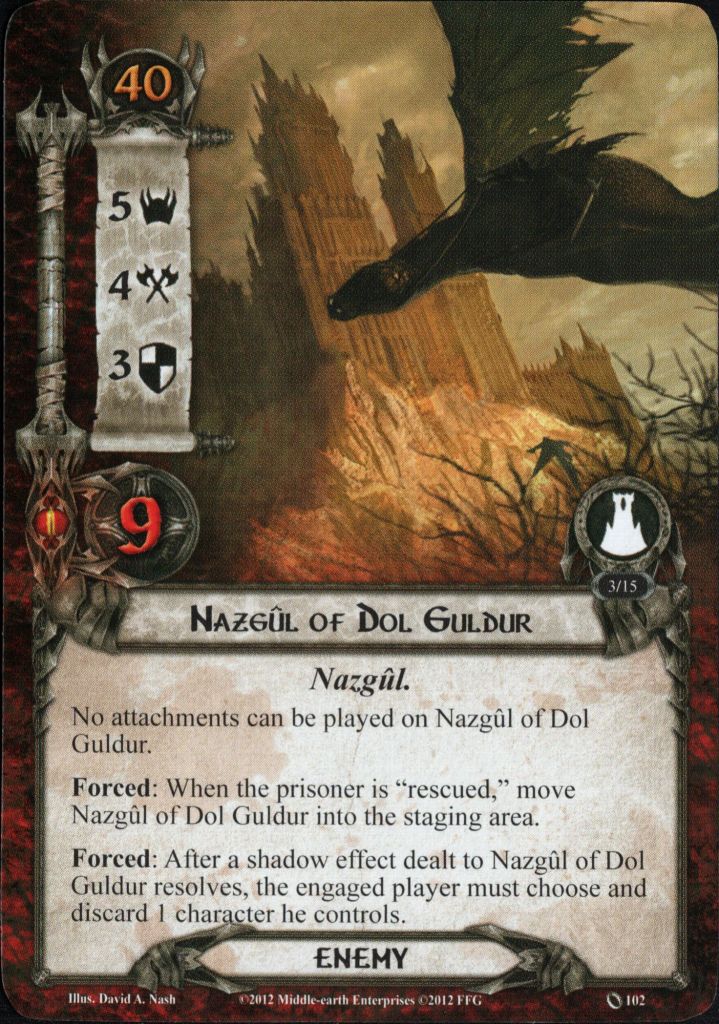
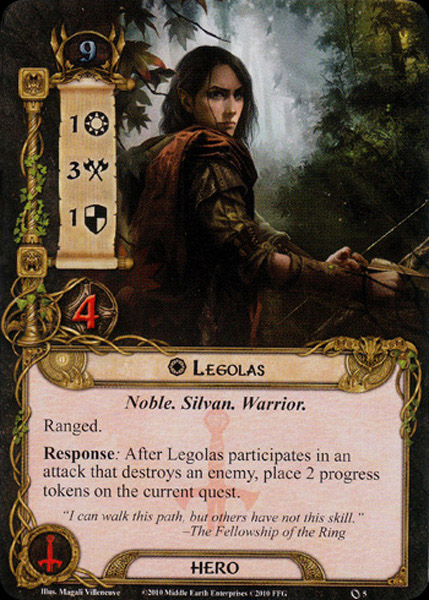
When deciding on a replacement hero, my first thought was that Escape from Dol Guldur is a combat-heavy quest. Not only do we have new big baddies like the Nazgul of Dol Guldur and the Dungeon Jailor, but we also have some bad enemies returning from previous quests, like Ungoliant’s Spawn and Chieftain Ufthak. Therefore, I decided to replace Eowyn with a tactics hero, the first of my ultra-campaign. The problem is that none of the three tactics heroes from the Core Set (Thalin, Legolas, and Gimli) come close to replacing Eowyn’s questing power. For this reason, I decided to choose Legolas as my third hero, in hopes that his ability to place progress tokens on the quest after killing enemies would help pick up on the questing slack. Welcome Legolas!


Player Cards
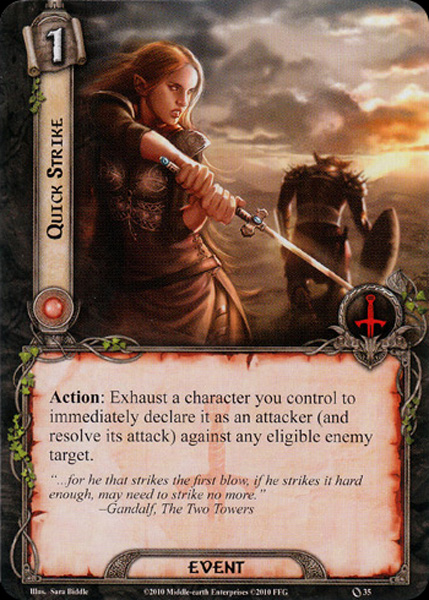
For the first time, I can use tactics cards to my advantage! However, I only have one tactics-resource generating hero, so I have to be careful about how costly my cards are. Some choices were obvious 3x includes. Quick Strike and Feint are two great events that allow you to flip the standard “defend an enemy and then attack it” on its head. Horn of Gondor and Blade of Gondolin are likewise two cheap attachments, the first of which provides some much-needed resource generation for tactics, and the second of which helps Legolas place even more progress on the quest after killing enemies. Finally, Gondorian Spearman and Veteran Axehand are the two go-to cheap tactics allies from the Core Set and provide some much-needed extra attack, so three copies of each of them went into my deck as well.


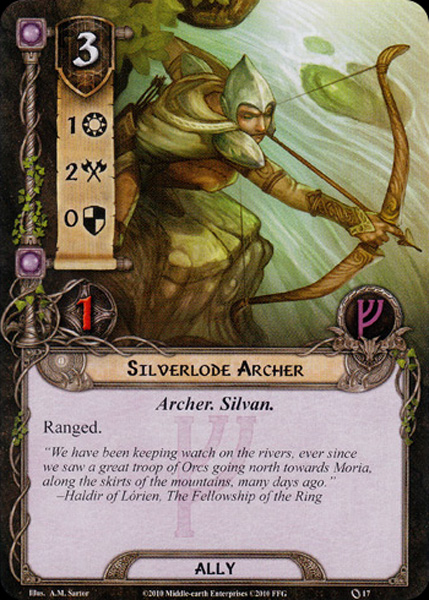
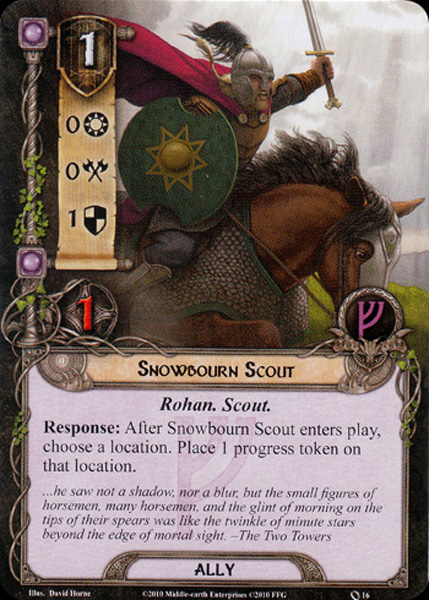
Leadership cards were a bit more difficult to choose this time around due to my deckbuilding restrictions and the relatively small amount of cards available in the Core Set. Firstly, I included the maximum amount of copies of Steward of Gondor (2), Sneak Attack (2), and Celebrian’s Stone (1) that I was allowed. I added three copies of both Ever Vigilant and Valiant Sacrifice for some Gandalf readying and card-draw synergy (of course, I still have three copies of Gandalf in my deck). Other than that, I added a mixture of cheap allies for defending (Snowbourn Scout and Guard of the Citadel) and more expensive allies for attacking (Longbeard Orc Slayer and Silverlode Archer). And I can’t forget three copies of Faramir for an essential questing boost in a deck without much questing.


Other than the inclusion of tactics card for better combat, I did not end up doing too much quest-specific deckbuilding. However, two notable quest-specific plans I did have in mind were:
- Snowbourn Scout is best used when there is a location in play that only needs one more progress token to be fully explored. Luckily for me, this quest includes the Tower Gate location, which is a perfect target for my little scout to explore.
- The Nazgul’s second forced ability (if a shadow effect resolved, discard a character) is nasty. Hopefully, I can draw a Feint at some point to avoid a Nazgul attack and kill it quickly.

Find my full deck-list here.
Without further ado, let’s take a look at how my playthrough experiences went!
Escape from Dol Guldur: Playthrough(s)
Number of attempts to beat scenario: 2
Attempt Log
Attempt 1: FAILURE
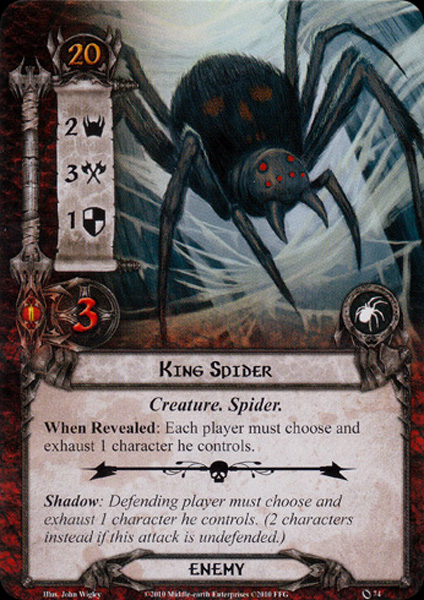
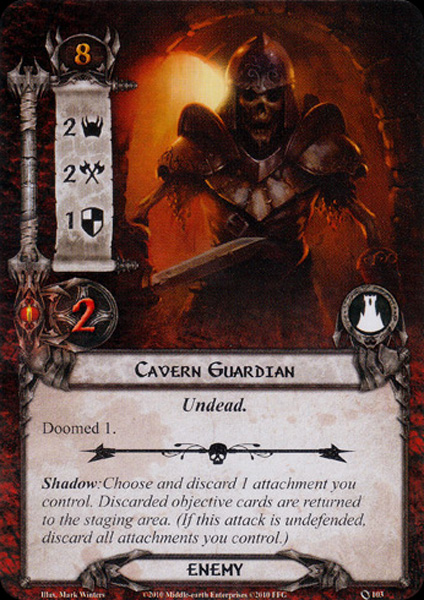
Well, there you have it: the first loss of my ultra-campaign. I knew it was only a matter of time and that Escape from Dol Guldur was the most likely place to have trouble. This playthrough perfectly exemplifies what makes this quest so hard for solo players: set-up. Regardless of the number of players in the game, there will be three encounter cards in the staging area to start the game. And as it turns out, most combinations of three cards are brutal for a solo player who only has access to two heroes at the start of the game. In this playthrough, I started with two enemies (King Spider and Dol Guldur Orcs) and quickly drew a third (Cavern Guardian) and a fourth (Hummerhorns), which was not compatible with me surviving very long.

However, while I wasn’t surprised at the fact that I racked up my first loss, I ended up being very surprised at the fact that I only racked up one loss in total, and beat the quest on my second attempt!
Attempt 2: SUCCESS
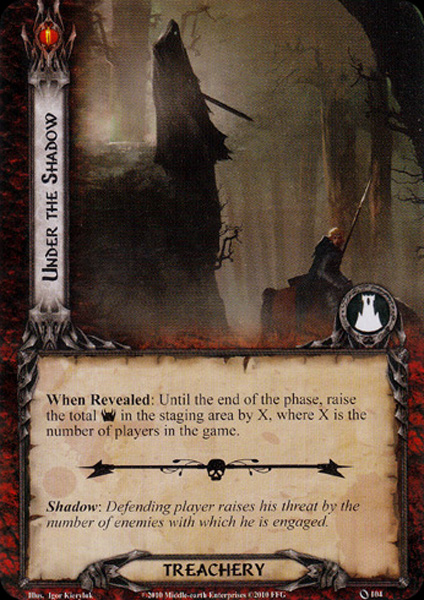
This successful playthrough also demonstrated just how important a good set-up is. While I did start with one enemy, I also started with Under the Shadow, a treachery card that has no effect if drawn during set-up. Without too tough of a set-up, I could start methodically playing one ally per turn to help support my two starting heroes.

I also have to say: I really appreciate the modifications that FFG made to this quest in the revised campaign to make things more manageable for solo players. For one, being able to plan out which hero will be taken prisoner at the end of Journey Along the Anduin allows for much more control. It would likely have gone terribly for either Aragorn or Legolas to be chosen as prisoner, so being able to have Theodred, my least powerful hero, be taken prisoner was vital. Additionally, only generating two resources per turn can be debilitating, so the addition of the Appointed by Fate boon card makes this quest much more feasible for solo players.
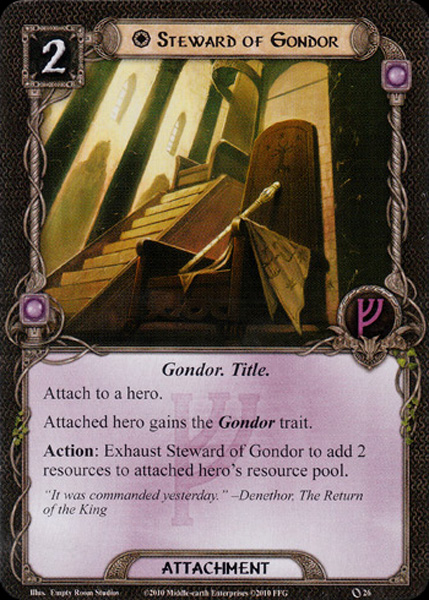
After getting past set-up and establishing myself with multiple allies in play, the rest of the quest was surprisingly simple. Questing wasn’t as difficult as I had thought: once I cleared the staging area from set-up, the threat of one card being revealed each turn could easily be counteracted by the questing of Aragorn and Faramir, with Legolas able to pick up any slack by killing enemies. Also, my plan for the Nazgul went just as planned, with a copy of Feint preventing the Nazgul’s forced effect from having a chance to trigger. One oddity that almost cost me the game was having two copies of Caught in a Web placed on Legolas. However, putting Horn of Gondor and Steward of Gondor on him helped me generate just enough resources to keep him ready for attacking when needed.

Finally, you can’t talk about this quest without talking about the objective cards: Gandalf’s Map, Dungeon Torch, and Shadow Key. While they seem nasty at first glance, experienced players know there’s a way to work around the collection of the objectives. This usually looks something like: grab Gandalf’s Map first and put it on your main quester — they don’t usually attack or defend anyways. Then, wait to grab the Shadow Key and Dungeon Torch until the very last questing phase of the game. You should have enough progress tokens on Stage 2 of the quest, and the Nazgul should be dead. Then, in the questing phase, you can grab the two objective cards, which instantly causes the quest to progress to Stage 3. While you still have to raise your threat by 4 to claim these two objectives, so long as you can quest for 7 progress (enough to clear Stage 3), you should never have to trigger the end-of-round abilities on these two objectives. In this way, the Shadow Key never damages your hero, and the Dungeon Torch never raises your threat by an additional 2 points.

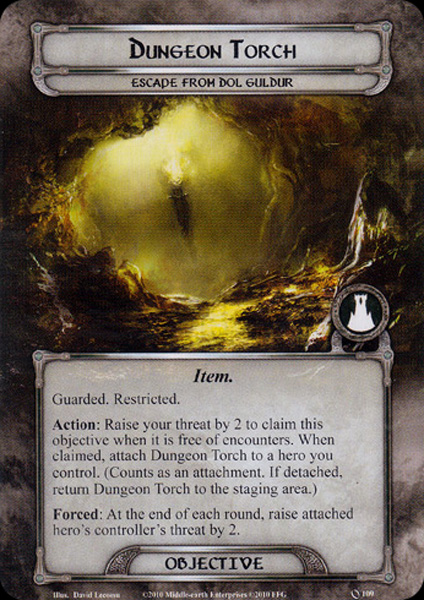
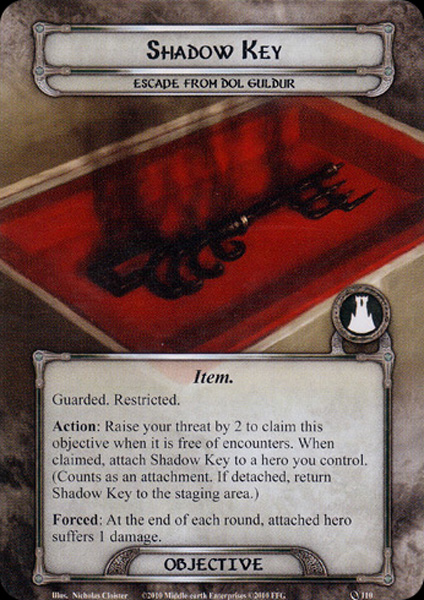
Now, I point out this useful strategy only to note that it didn’t work for me this in this playthrough. When it was time to grab my first objective, I realized that I didn’t want to put Gandalf’s Map on either Aragorn or Legolas, as they were both critical for attacking and defending. Because of this, I ended up taking the Shadow Key first, which damaged Aragorn every round. Thankfully, this was another time that I was saved by the Mirkwood Paths mini-campaign boons. Since Aragorn had the Valor permanent attachment on him due to successfully killing the Hill Troll last week, I was able to heal 1 damage from Aragorn every time he attacked. So, for the first time ever, I saved collecting Gandalf’s Map until the very end of the scenario. Once Theodred was rescued and the Nazgul was defeated, the rest of the quest was fairly trivial, and I was able to safely escape Dol Guldur!

- Overall score: 106 (7 rounds, 41 ending threat, 10 VPs, 5 damage on heroes, and 0 total threat of dead heroes)
Campaign Notes
Ultra-Campaign Notes
There are a few important ultra-campaign notes from this quest. First, I received another 10 VPs from Hummerhorns and Dungeon Jailor, increasing my total to 20 VPs. Additionally, I acquired my first scenario loss. As a reminder, for every 5 losses, I must randomly select one hero to become a Fallen Hero and lose them for the rest of the ultra-campaign.
- 0 Fallen Heroes
- 20 VPs
- 1 loss
Mini-Campaign Tracker (Mirkwood Paths)
Mendor remains in my campaign pool. Mendor’s Support remains as a boon in my player deck, and Lingering Venom remains as a burden in the encounter deck. Valor is permanently attached to Aragorn. No new boons or burdens from this quest.
Exhaustion: Aragorn is ineligible for exhaustion due to his permanent attachment. Legolas was randomly selected to be exhausted, which means Aragorn and Theodred will be finding a new companion for the next quest.
- Exhausted heroes: Denethor, Eowyn, and Legolas
- Exhausted player cards:
- 1x Horn of Gondor
- 1x Citadel Plate
- 1x Guard of the Citadel
- 3x Celebrian’s Stone
- 1x Snowbourn Scout
- 1x Steward of Gondor
- 1x Sneak Attack
- 1x Henamarth Riversong
- 1x Self Preservation
- 1x Gleowine
- 1x Wandering Took
- 1x Dwarven Tomb
- 1x A Test of Will
What are the odds? My third and final copy of Celebrian’s Stone was chosen for exhaustion. Questing just gets harder and harder. It also isn’t great to lose a Horn of Gondor and a Snowbourn Scout, but other than that, things should be fine. I am now 3/5 of the way through the first mini-campaign! Join me next week for quest #4: The Oath.

Yeah, just went through this tonight. Also got through on my 2nd run.Aragorn had two webs stuck on him. (Wasn’t sure if that was legal but….) Steward of Gondor and Unexpected Courage got him through.
Sure am glad didn’t have to play this 10 times like the first time I played Escape.
Keep up the good work!
Milton
LikeLike
That’s awesome! Are you also trying out the ultra-campaign or was it a standard solo run?
LikeLike
Inspired by yours but I will be using a little bit of kentucky windage depending on circumstances.
I don’t think I will be deliberately taking out cards or heroes as in your program. I am also running progression, but I’m counting all the cards in each cycle. i.e. I will potentially use all of the Mirkwood cycle cards from the get go, but I won’t use any Khazad Dum cycle cards until I get there. If that makes any sense….
LikeLike
Makes total sense! Either way, glad to have you following along 🙂 Let me know how your playthroughs go!
LikeLike