While it seems like forever since this pack got announced and the community lost its collective mind over the contract, the day has finally come for me to open the pack and play with its contents. It has been a while since Under the Ash Mountains came out in Europe, so I am eager to dive into this fifth pack of the Vengeance of Mordor cycle.
Player cards
Hero
Gwaihir

Ever since the end of the first cycle, a hero version of Gwaihir had been rumoured. When we finally got the ally version in Trouble in Tharbad, the rumours died down, but with the recent Eagle resurgance of the Ered Mithrin cycle (especially Gwaihir’s Debt), the idea of an Eagle hero was reignited by the community. With him showing up at this late hour, the community can now finally start with a unique Eagle and Istari in play from the start of the game, allowing easy access to Gwaihir’s Debt (though the contract in this pack also allows for this). Going over the stats of Gwaihir, he is the most expensive Tactics hero we have at the moment, with 13 threat cost. In return for this, you get some solid stats distributed evenly. 2 willpower on a Tactics hero is always nice, but this will be boosted by Tactics Theoden for example. The 4 attack as a base value is also nice, as only Beorn and Quickbeam can rival this without having to use an ability (not counting Tactics Aragorn’s debuff to enemy defence). The added Ranged and Sentinel keywords also give Gwaihir’s stats a lot more use, as he is very flexible with his stats. Of course, having great stats is nice, but you do need to get the action advantage to make use of the stats. This is done by having Gwaihir ready each time an Eagle ally enters or leaves play. This is limited to once per phase, but I can easily see Gwaihir readying twice per round, since the effect can be triggered by other people playing Eagles, or by using some emergency buttons like Born Aloft or Meneldor’s Flight to return an Eagle to hand and have them ready Gwaihir in the process.
The downside to all this readying is that Gwaihir does not automatically ready during the refresh phase. This makes it crucial you get some Eagles into play during your early turns, and build up a reliable Eagle trampoline to recycle the Eagle allies and keep Gwaihir ready. The benefit of this restriction is that Gwaihir isn’t affected by treacheries and shadow effects that don’t allow the defender to ready until the end of the round. Since Gwaihir readies during the planning phase most likely anways, he is the perfect candidate for these sort of effects. On top of this, you will need to be sure that you continue to cycle Eagles in and out of play, which may turn some people off from playing Gwaihir.
Allies
Wilyador

I had expected Wilyador to come during the Fate of Wilderland, but I am amazed we still got him before the hiatus as an official player card. Wilyador no longer has his 20 hitpoints from A Journey to Rhosgobel, but his other stats have improved significantly. He is the first 1 cost Neutral ally, but has stats and keywords equal to a 4 cost ally, maybe even 5 cost. 1/3/2/3 with both Ranged and Sentinel makes Wilyador a very solid ally to bring in any deck that needs some more combat potential. The catch is that Wilyador will leave play at the end of the round unless the players as a group pay one resource. This is the same catch as the Dwarven Sellsword, only this time, the resource can come from any sphere. This makes it very easy to keep Wilyador around for longer than the round he enters play, but this built in ability to discard himself will also combine well with Gwaihir, who will ready because of that. Alternatively, you can also return Wilyador to your hand to ready Gwaihir or Flight of the Eagles. The fact that Wilyador only costs 1 resource also makes him amazing for Radagast, who can easily play Wilyador and not have to exhaust to quest for that round as you would have played a Creature ally that round. Bouncing Wilyador in and out of play this way will heal him up as well, allowing you to take some Archery damage on him, or use him as a (Sentinel) defender during the combat phase. The 3 attack with the Ranged keyword is also worth a lot, allowing you to help out across the table if you need to. In the long run, Wilyador will start to cost more than you might think he is worth, but it is a great ally for the combat phase in any deck, especially those that lack proper attackers. Mono-spirit decks often lack attackers with more than 2 attack, so Wilyador can be splashed into those decks as well. Having the Creature and Eagle trait can even set up The Free Peoples easily in other decks, as those two traits are pretty uncommon. There is a lot of flexibilty with Wilyador, even beyond standard Eagle/Creature decks. He will definitely see a lot of play by the community in the near future.
Dale Messenger

A common answer on the question: “What is Dale missing?” that was asked at the end of the Ered Mithrin cycle is “Healing”. Luckily, the archetype will get a final boost for its archetype this cycle, as this is the first Dale card we’ve seen during Vengeance of Mordor. The Dale Messenger is a Lore ally that costs 2 resources. The sphere and cost of the ally don’t matter too much for a Dale deck, as it often relies on King of Dale to bring allies into play. But if you would want to play more than one copy per round, then you will have to look into getting a Lore hero in your lineup, which isn’t always the case for Dale decks. In return for those 2 resources, you get this 1/1/1/2 Dale ally that has a pretty generic statline, and no extra traits besides the Dale trait. A Scout or Healer trait would have made this ally a little better, but the Dale trait is powerful, as it allows this ally to use a variety of attachments to improve the stats of this ally or give her an additional ability. The printed ability on the Dale Messenger is triggered when the ally enters play. The player then selects a player to heal 1 damage off of each character they control with a player card attachment. Obviously, this helps Dale decks, as it can potentially heal their entire boardstate, but this is also a great way to heal the heroes of other players. Not many decks will have attachments on their allies, but if they do, they get to heal off a point of damage as well. This is nice for defensive allies that received an attachment, like Jubayr with a Wild Stallion for instance. This card has its uses for attachment heavy decks, but will resonate with Dale players the most. This ally is also a good target for Sneak Attack or other Mustering effects, since the ability will trigger each time that the Messenger enters play. This allows for some reliable healing after a treachery dealt damage to all exhausted characters for instance. When the Messenger has done her thing, she becomes a generic ally on par with the Long Lake Fisherman. Give her some attachments like the Map of Rhovanion, and she will serve you well. Bouncing her in and out of play is more effective though, but Dale doesn’t really have effects that return allies to your hand. Born Aloft might be a decent attachment for her, just so you can play her again during a future planning phase.
Eagle Emissary

We finally get the questing counterpart to the Vassal of the Windlord and Winged Guardian with this 2 cost Eagle ally. The Eagle Emissary has 2 willpower, 1 attack, and 2 hitpoints, making it ideal to quest with. It is a decent price for willpower in Tactics, making the Emissary somewhat viable outside of Eagle decks, though I think it won’t be very common to see this Eagle being splashed as much as its attack and defence-based bretheren. You are going to be paying a little more than just 2 resources for this Eagle though, as whenever the Emissary quests successfully, the controlling player has to spend 1 Tactics resource or discard the Emissary from play. This in turn can put the Emissary underneath Eagles of the Misty Mountains and can ready Gwaihir after he has quested. Note that you only have to trigger this when you quest successfully. This means that if you lose the quest, you get to keep this Eagle in play for next round without having to pay for it, which is nice. I don’t think this Eagle is worth its cost though, as Meneldor is a much more appealing option. But with Radagast’s Staff, this eagle ally becomes free, which suddenly changes your perspective on this ally. You do still have to spend resources to keep it in play, but if you aren’t paying full cost for this ally, you might have some resources left over. Other ways to get this eagle in for cheap is through ally Gwaihir, or Gwaihir’s Debt. There are better targets in my opinion, but this ally might give you enough willpower to allow you to not quest with your Eagles of the Misty Mountains. This is a nice piece of the Eagle engine to keep Gwaihir going, though he probably won’t be a staple in Tactics decks like the Vassal and the Guardian. I do love the art though, which counts for something.
Hobbit Archer
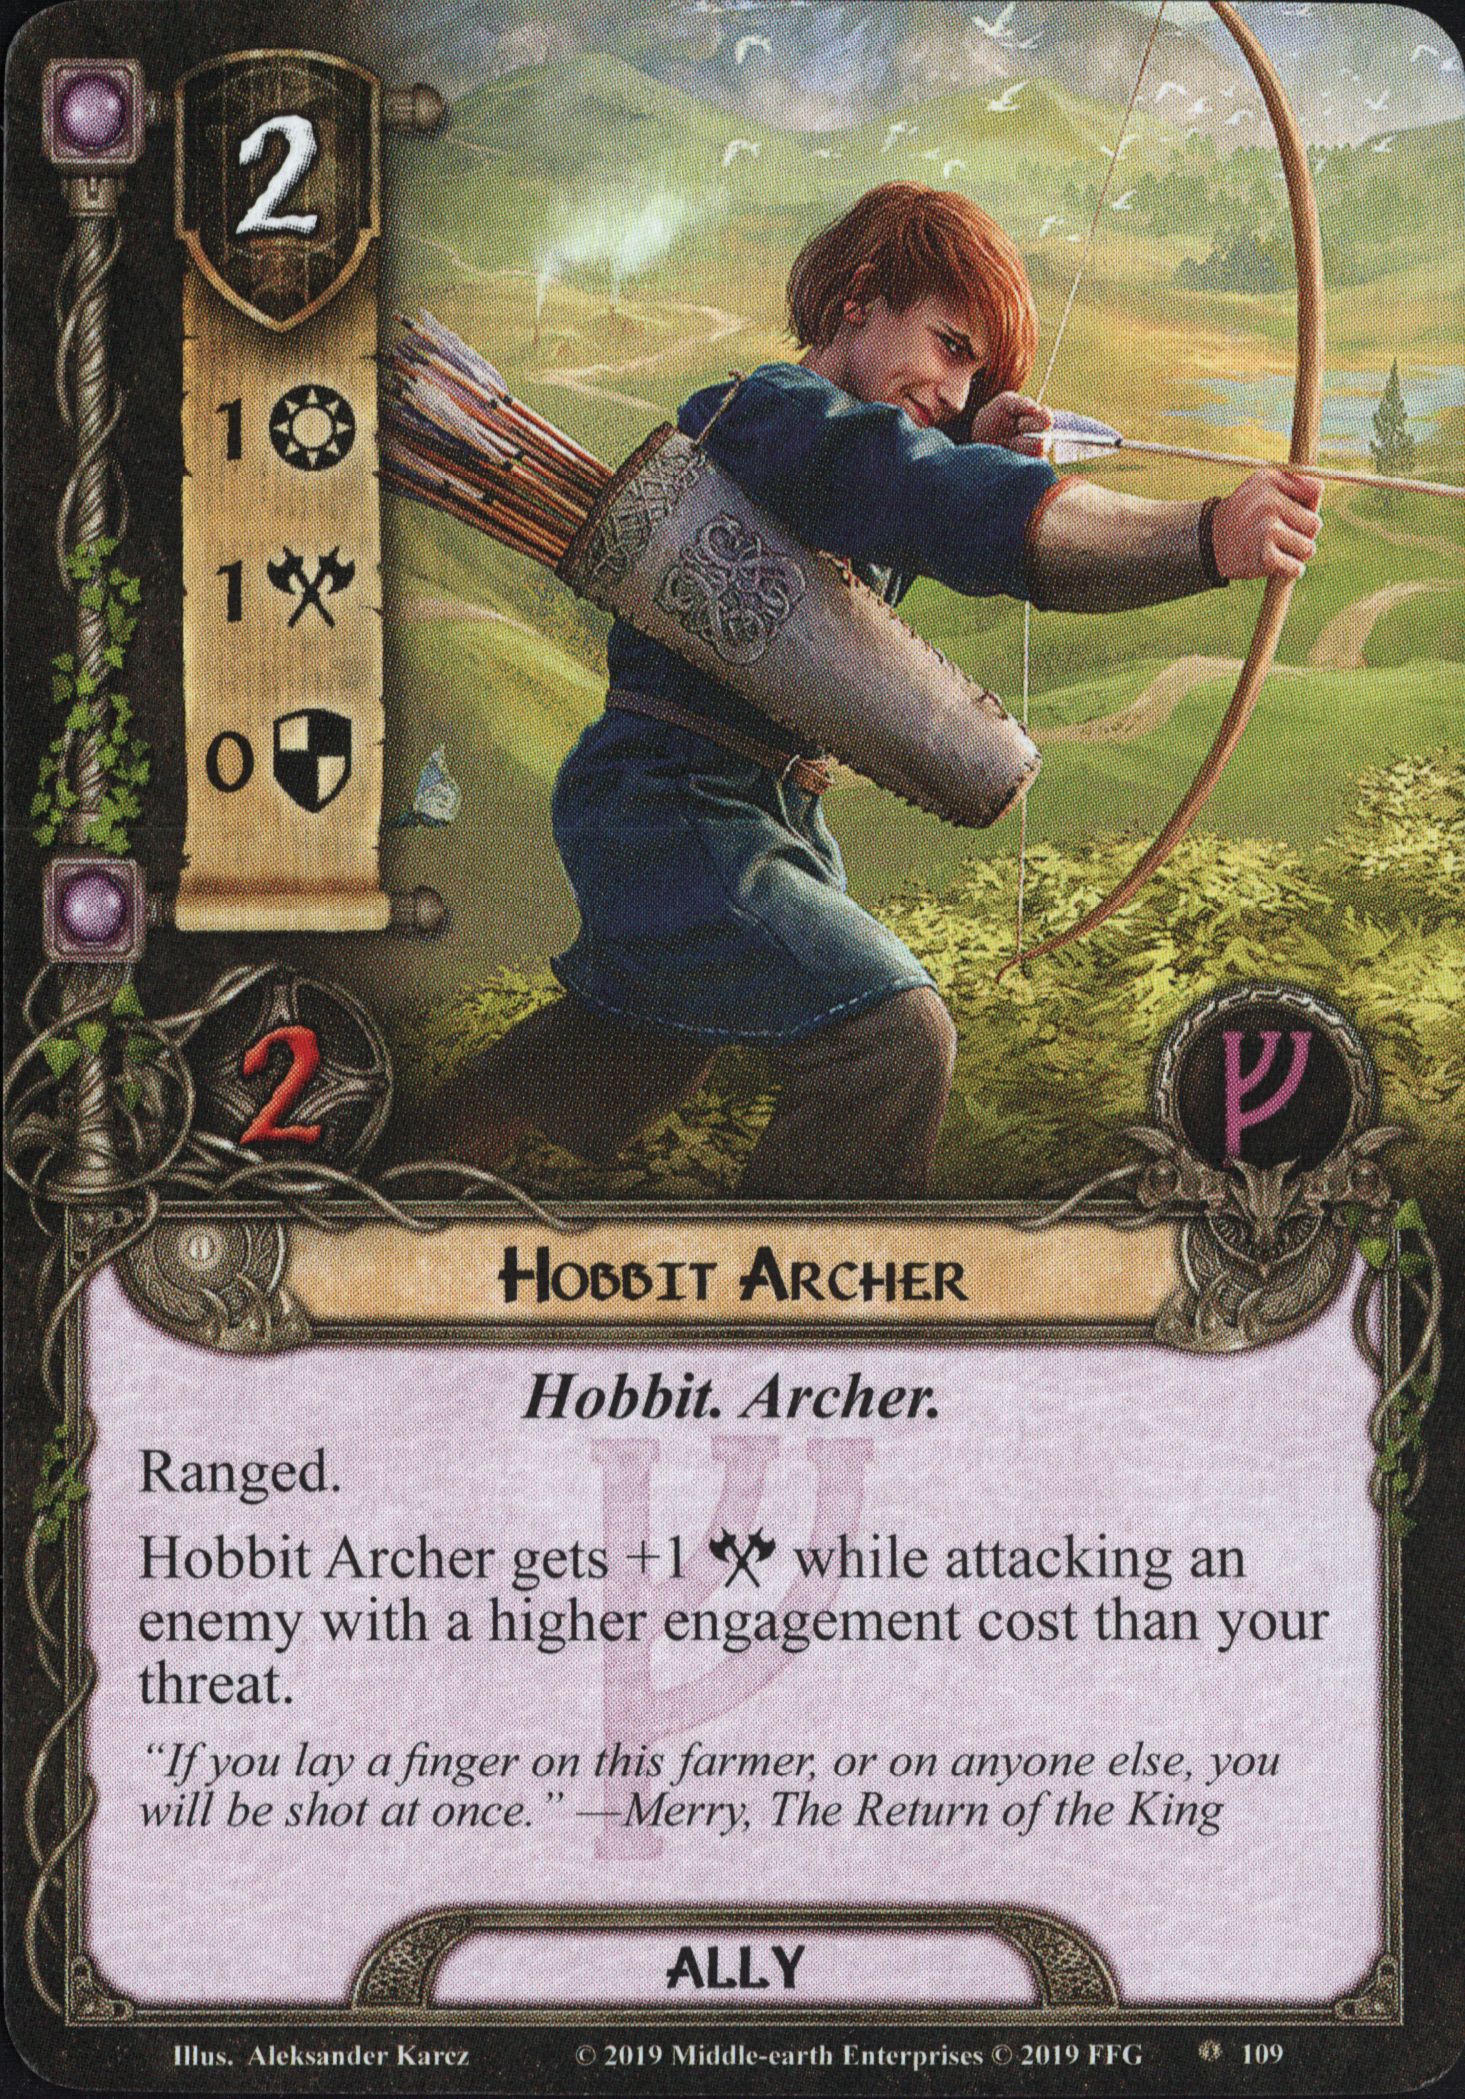
Why do I get the feeling we are being trolled with this card? Is it perhaps because the title of this card perfectly matches the card’s traits? Or is it because after 9 cycles and nearly a decade of this game, a third card with the Archer trait is released (the other two being Horseback Archer and Silverlode Archer from the Core Set). In any case, the Hobbit Archer is something that the Hobbit trait really needed, a dedicated non-unique attacking ally. The ally is quite cheap at 2 resources for a point of willpower, one point of attack, and 2 hitpoints. This allows the Archer to quest in a pinch as well, especially once you get the Red Book of Westmarch out. The real value for the Archer comes in its Ranged keyword and the fact that the Archer will get +1 attack when attacking an enemy with a higher engagement cost than your threat. This puts it on par with cards like Greenwood Archer for its cost, but the restriction that the enemy must have an engagement cost higher than your threat makes this ally less reliable in the later stages of the game. Still, you can have a decent squad of attackers this way, who can help out across the table as well. This allows the Hobbit player to avoid taking enemies while still being of some use during the combat phase. The 2 attack isn’t much, but it is better than nothing. 2 cost Ranged allies are also worth considering for some events like Skyward Volley and Rain of Arrows, which can help out as well if you have access to Tactics with a hero like Tom Cotton. Tom is amazing with these archers, as he pushes them up to 4 attack with Ranged when attacking during the round they enter play. This makes the Archers suddenly very deadly, and good killers, even against enemies with lower engagement costs than your threat. Without Tom Cotton, they are not as good, but might be worth considering if you want some attack power in your Hobbit deck.
Attachments
Song of Healing

It has been a while since we’ve seen a Magali artpiece in the game at this point, but I’m very happy to have another card with her art on it. The Song of Healing is a pretty good card as well, as this is a healing attachment that allows players to discard cards from their hand to heal the attached hero. This obviously lends itself well to a Noldor deck, as they now no longer have to rely entirely on Imladris Caregivers, but I figure that the attachment will also be nice for other Lore heavy decks to have an easy way to discard some cards to. Lore does after all have some of the best card draw effects, and it would be nice to have the option to discard any duplicate unique cards in order to heal. The song is free, which even allows you to gain a resource through Love of Tales in a Song deck. The fact that it is free also might allow the song to be selected for certain shadow cards and treacheries that discard player attachments. The Song is limited to one per hero, but can attach to any hero, which makes quite a nice universal way to heal heroes in any deck. I can see this being quite useful in a Forth! The Three Hunters deck, as the 1 damage healed each round might not be enough for your defender. You can then discard extra attachments from your hand to heal some extra. This also combos well with Elrond, as you will get to heal 2 damage for each card discarded this way. Even having just one copy on the table will allow any player to discard cards to it in order to heal, which is fantastic in some Ringmaker cycle quests, that punish every player for having cards in their hand. Attach this card to a hero like Treebeard or Gloin, and have others empty their hands to heal your heroes. A fantastic card that is quite flexible, and not just restricted to Noldor decks. Erestor deck are now able to absorb a lot more direct damage on their heroes though, which is nice for them.
Spare Pipe

We finally got a generic Pipe in order to get a Pipe deck going! Previously, when you wanted to play with pipes, you had to either go for Hobbits, Dwarves, or Dunedain (and Istari, though you rarely have more than 1 Wizard Pipe out at once). But now any archetype can get a Pipe going. This is nice, since you are now no longer limited to 3 Pipes per deck without sacrificing the synergy of your deck. The Spare Pipe is a 1 cost Spirit attachment that can go onto any character. That character gets +1 hitpoint, which by itself is already nice to get. This hitpoint alone makes the Pipe feel like a Signal attachment for willpower, with the added bonus that it can go on allies as well. You can also stack Pipes on one character, which is a nice way to boost hitpoints on characters like Spirit Beregond without having to rely on other spheres. But the hitpoint isn’t the only thing you get with the Spare Pipe. You also get to search the top 5 cards of your deck for an event when you play the pipe. This is a nice way to dig for some of the events that rely on you having Pipes in play, and allows you to dig a little deeper for some important events you might need. After you got the Pipe in play, it won’t do much besides adding a hitpoint to the attached character, but having more pipes in play allows you to tap into some useful events like Smoke and Think, Smoke Rings, and Old Toby. Once you get a good number of pipes in play, these events will help you out a lot. The Spare Pipe is a great tool even if you don’t want to use those sorts of events. 1 cost for 1 hitpoint without sacrificing a Restricted slot is great for Spirit defenders and for Hobbits, who can always use more hitpoints. Finding the event in the top 5 cards of your deck is also nice to have, allowing the pipe to replace itself in your hand. Of course, you can whiff on this, but even then, you get the hitpoint. This is good value for your resources, and might finally push the Pipe deck into a position where it is a reliable sub-archetype to Hobbits or Dwarves (keeping in the mono-spirit lineup).
Red Book of Westmarch

I know many people that have been waiting for this attachment for a while, but here it finally is. It is the second 3 cost Leadership attachment we’ve ever gotten and has both the Item and Artifact traits, allowing you to use it in your Burglar’s Turn deck to get around the high cost. The book is unique and canonically contains the narrative of both Bilbo’s and Frodo’s adventures. As such, it can only attach to a Hobbit hero and is so heavy that it fills up an entire Restricted slot. In return, the Book will boost the willpower of all Hobbits by 1 if the attached hero is also committing to the quest. This is useful for Hide tests, but is also another +1 willpower on at least the attached hero during the quest phase. This also reaches across the table, so if multiple decks are running Hobbits, they get boosted if the attached hero is sent to the quest. Obvious targets for this book include Leadership Frodo, Leadership Sam, and Tactics Bilbo. But the willpower boost isn’t all that the book does. Sword that Was Broken has the same cost and doesn’t require some of the things that this attachment does, so there must be some additional benefit to the Book. That comes in the form of a response, that can be triggered after you quest successfully. You can then exhaust the book and gain a resource on the attached hero. The attached hero does not have to have quested that round, you simply get the resource each time you quest successfully. This is nice on Leadership Frodo, who needs those resources to fuel his own ability. In a multisphere deck, this would limit your ability to play Leadership cards while also using his ability constantly. But now you have some extra resource generation and some willpower buffs to make sure that you are questing successfully. This is a great attachment for the Hobbit deck and will likely be included in any deck that runs Leadership Frodo and some Hobbit allies (perhaps the ones from this cycle). I am very glad that we got to see the Book of Westmarch before the end of the game, though I am a little confused why the Book doesn’t have the Record trait, as that would fit perfectly.
Events
Bilbo’s Plan

Despite this pack being Hobbit-heavy, the event Bilbo’s Plan can be used in any Tactics deck. It is a tool to get more enemies into the staging area, while removing some nasty locations that Tactics tends to have problems with in true solo. This is more or less a reverse Put Off Pursuit, which swapped an enemy in the staging area for a location, though there are some diferences. The event is 0 cost and can only trigger after you destroy an enemy. This does not have to be killed by any specific character, and can even be killed in the staging area or through a Ranged attack. No timing window also adds to the flexibility of this event. Once you play the event, you shuffle the encounter discard pile back into the encounter deck and start to discard cards until you discard an enemy. You add that enemy to the staging area (ignoring any When Revealed effects or surge-like keywords) in order to remove a location from the staging area. That location must have a threat equal to or lower than the threat of the newly added enemy’s threat. If you cannot, then you don’t add the enemy to the staging area. The lack of control makes this card hard to sell for me, as you won’t know what enemy will be added to the staging area this way. It could be the one you just killed, or it could be a worse enemy. Shuffling the encounter discard pile into the encounter deck is also not great, as you now make sure that enemies have shadow cards for a while again, and nasty treacheries might make an appearance sooner. You might discard these through the event while you are digging for an enemy, but you won’t get every nasty thing out of the deck this way. Since the locations that are causing you so much problems are likely to have a higher threat than any enemy you add through this effect, you will at most get rid of a 2-3 threat location for this event, and will have added the same threat to the staging area anyways. If you manage to combine this with Tactics Aragorn, you could draw the enemy down again and kill it again if you combine it with Tactics Merry or something. Throw Hama into the mix to recurr the event and get rid of more locations that way. But the lack of control and the fact that I prefer to get locations in my staging area over enemies, means that you probably won’t find me playing this event very often in multiplayer games.
Smoke and Think

While we got the card spoiled in the announcement article, the full text was unclear. But now that the card is in the hands of the community, we can now see that the event will reduce the cost to play any card by 1 for each Pipe you control. Not only will this help to afford expensive allies, but it will also help to pay for the pipes themselves, and it can make events, side-quests, and attachments cheaper as well. The fact that this event isn’t limited to any cost means you can lower the cost of any card to 0, which is great value for your pipes. The event itself can be easily found by using Spare Pipe in this pack, and can be played over and over again with the use of Spirit’s affinity for recursion effects (Map of Earnil, Dwarven Tomb, Will of the West to name a few). This makes Smoke and Think a semi-reliable way to lower the cost of expensive cards once you manage to find enough pipes. Hobbits and Dwarves have an advantage in this, as their pipes are in Spirit as well, plus the Spare Pipe will help in that sphere as well. Wizard Pipe and Dunedain Pipe are slightly more niche cases, but can be used to great effect with this event as well. This will likely be a 3-off in any Pipe deck, as it has no cost attached to it, other than the space it takes up in your deck. But not having to reduce to a limit of 1 resource and not having to exhaust the Pipes themselves for this effect is amazing! A great way for Spirit to save some resources on big allies, though it does require a bit of setup.
Contract
Messenger of the King

I don’t think any of the other contracts have energized the community as much as Messenger of the King when it got announced. Maybe Fellowship, just because that introduced the contracts. But Messenger of the King just busted the card pool wide open, and expanded the hero-roster with roughly 100+ extra characters. A detailed overview of each of those characters can be found in this article here.
The contract limits the players to just 2 starting heroes, but during setup, one unique ally from the deck gets promoted to hero-status. This allows players to use the ally as a hero, without needing to search for the ally and Sword-thain, and then paying for those cards. You do have to raise your starting threat by the total stats of the promoted ally, but this can be very low if you go for allies like Ioreth, Henamarth, or Galion. You can also go big, with allies like Beorn or Gildor. The contract gives nearly every archetype some new heroes to experiment with, including smaller archetypes like Harad and even Outlands! I am very much looking forward to seeing the many different decks up on RingsDB during the next few weeks.

The drawback to the contract is that once the promoted ally leaves play, it cannot be revived as a hero. All you can do is to revive it through Stand and Fight, after which it will lose the ability to generate resources like a hero would. Another drawback is that the selected ally cannot ready more than once per phase, the same restriction as Tactics Boromir. While certain characters (like Forlong) won’t feel the impact of this as much, this rule was put in place to prevent players from readying Gleowine over and over again, drawing quickly through your deck. Another character that had to be nerfed this way is Leadership Faramir, as otherwise you could stack Unexpected Courage on him, allowing you to abuse his ability over and over again. You can still do this with his ally form, though it is a bit more difficult.
Overall, I see this contract as a way to keep the community entertained for a long time during the hiatus, giving a ton of different lineups to the players. Players will now be able to more easily start with important characters in play, helping several archetypes to get their engine going more quickly (Anborn for Trap decks for instance). I am looking forward to seeing the different decks in action and will personally try to start a Forlong/Outlands deck with this, just to see how crazy it gets.
The Quest
From the moment you open this pack, you get the feeling that this is going to be another tough quest to beat. Official difficulty ratings have to be taken with a grain of salt, but when a 9 difficulty quest pops up, you know that the developers mean business. The quest punishes characters for being damaged, and tries to threat players out. Combine this with a lot of Archery, general Easterling shananigans, and three boss-level enemies that you have to clear, and you know that it isn’t going to be easy to lead a revolt against Ulchor. You are also probably going to be needing the healing cards in this pack to help you survive for long enough.
The biggest gimmick in this quest are the three Warden enemies, who act a lot like the Guardian enemies from the Three Trials. They each have different stats and different abilities, such as left over damage that needs to be carried over to other characters, and an immunity to ally defences and attacks. This makes them very tough to deal with in the early game. They are placed in the staging area underneath three different Camp locations that also guard your three objective allies. Your goal in the first stage is to explore all three Camp locations, which cannot be rushed, as Camps can only be travelled to if there are no other Warden enemies in play. This means you will have to defeat at least 2 of these bosses in order to advance to the second quest stage. When players travel to a Camp, they add the Warden to the staging area or it engages the first player, depending on the Camp. Each Camp location gives the Warden a one-time boost for the rest of the round, which makes it even more difficult to deal with them. These range from immunity to all damage, to a -30 engagement cost, and +3 attack until the end of the round, which destroys Hobbit decks.
The three objective allies are rescued once you manage to explore their Camp location. These allies are very useful, as they each have 3 points in a single stat. Their abilities also complement their stats, allowing the Gondor ally to ready when he is defending with 3 defence and 5 hitpoints once per round. This helps a lot against the new enemies in the game, but you will have to be careful with these allies. If one of them dies, the players lose the game. You do get to see who is under what camp, allowing you to more easily select where you want to go first. All camps have 1 threat anyways, so it is up to what ally you would like, and what enemy you can take.
So your goal in the first stage is to clear all three Camps and managing to kill at least two of the Wardens. Note that if you clear all the Camps, certain encounter cards will become more difficult, like adding surge to certain enemies, and boosting attack strength with shadow effects equal to the number of Camps explored.
Advancing to stage 2 is where the comparison with Three Trials is much more clear, as all three Wardens come back to the staging area. This final stage has you face off against each of the Wardens, but all at once, which is very difficult for solo players as you cannot distribute the Wardens evenly and will likely engage all three at the same time due to their engagement costs being low and close together (range 29-34). The final stage can also require up to 50 progress to clear in a 4 player game, which can be too much for some decks to handle. You really got to pull out all the stops in this game or you will end up losing. After the final point of progress has been made, the players must also have defeated all three Wardens before they call it a victory.
In practice, this is another quest that seems pretty unfair to solo players, as the Wardens hit way too hard, and can engage you at the same time. Having more extra enemies to deal with than during Three Trials increases the difficulty of the quest on top of the fact that you will be taking constant Archery. The damage on your characters can also be a death sentance, as some treacheries will increase that damage or will exhaust damaged characters. I haven’t played the game with a ton of different decks yet, but do see why the developers guess this quest is a 9 difficulty scenario. I suppose this quest is easier in multiplayer, but the Wardens will be immune to Ranged and Sentinel, on top of regular player card effects. All this makes for a tough series of boss-fights, and a long march to the finish during stage 2. I can’t wait to try this out with some more players, as I feel like you do stand a better chance than alone.

Now if you would all excuse me, I have some more birds to tend to and perfect my Eagle deck now that the flock is complete. I will return to this series one last time with my review of the Fortress of Nurn pack.

One thought on “First Impressions: The Land of Sorrow”