Out of all the quests ever in this game, Escape from Dol Guldur has got to be one of the hardest. The quest is way too difficult for new players that just picked up their Core Set, and even players with complete card pools would rather play something like Nin-in-Eilph over Escape from Dol Guldur. If there was a quest that didn’t need a Nightmare version, then it would have been this one. But the first wave of Nightmare packs did contain this quest, and gave it 19 new encounter cards and a new rules card to make it even more difficult for players to beat. If you are still not convinced on how difficult this quest is; Seastan’s One Deck to Rule them All needed 54 attempts against this quest in order to beat it. Most of these were scoops at the start of setup, so the deck wasn’t even tested against all of the nightmare cards in each playthrough! With all of that said, I hope you enjoy this article written after countless losses against the quest, and several trips to my psychiatrist over the trauma that this quest has caused me. Happy April Fool’s everyone!
Nightmare Escape from Dol Guldur
- Found in: Escape from Dol Guldur Nightmare pack
- Size: 19 horrible Nightmare cards, and one extra rules card.
- Quest cards: 3, no changes here.
- Increase in difficulty?: Not sure how they managed to increase the difficulty of the original quest, but boy did they pull it off. This is THE most difficult scenario in the game, including all of the Nightmare versions of quests. The only quest that is even more unbeatable than this one is The Black Gate Opens, but that one has no win condition, so I don’t think it counts.
- Fixed Loopholes?: There weren’t many loopholes to this scenario to begin with, but the strategy to tackle this quest withmore than 1 player is now nerfed by the quest capturing more heroes. The broken combo for solo players where the remaining 2 heroes are Caught in a Web is also removed.
- New mechanics introduced: Instant scoops, locations gather resources that will cause you to lose, 19 extra ways to make you cry over your cards (be sure to sleeve them).
- Play this scenario if: the rest of your collection has suddenly disappeared. You can also encounter this NM quest in hell where you are only allowed to leave when you beat this thing.
- What to look out for: Losing your mind banging your head against an actual wall when trying to beat this quest.
New Rules

The new set of rules for this game first informs the players that they are playing Nightmare mode (with a lot of intended question marks as to why the players would ever play the quest in that format). Second, the card adds an additional Forced effect to stage 1B, where extra heroes are captured at random. For 1 or 2 players, this is one random hero as was the standard effect for the Normal mode. For 3 players, this effect captures 2 random heroes. And for 4 players, the card captures 3 heroes at random from the players. Note that while all heroes are captured randomly, one player cannot have more than one hero captured through this effect. Otherwise there could be a case where a 4 player game captures all 3 heroes from a single player, killing him instantly. The scenario is brutal, but not that brutal. As usual, the prisoners are turned facedown, cannot be used, damage, or collect resources until they are rescued at stage 2. This punishes multiplayer games the most, which is odd, as I have yet to find other players crazy enough to attempt this quest with me.
New Setup

The setup for this quest is the same as the original quest. The Nazgul is placed out of play, but can enter play earlier in this nightmare version, as a certain treachery can cause him to drop into play as soon as turn 1. Players also reveal the three objective cards from the original set, and add them to the staging area. Once the cards have been removed for the nightmare version as instructed on the back of the new rules card, each objective card get guarded by the top card of the new encounter deck. This can now include a brand new 5 threat enemy, of which there are 3 copies, potentially starting you off at 15 threat (good luck solo players, remember you are going to be down one hero). It can also reveal a new treachery that drops your handsize down to 2, but don’t worry, you weren’t going to play any allies anyways. Getting 3 of the new locations in play for this effect will also cause you to lose within a few rounds, as the locations can either kill your heroes, or bog down the staging area with more threat. Since the cards for the objectives are not discarded and then added into play, I am assuming (Grim Rule) that they are revealed, triggering any When Revealed effect, and both Doomed and Surge keywords. The state of the staging area at this point is usually enough to discourage the players from attempting this quest even more, so many won’t play beyond setup. If you are brave enough, you can now flip the quest card to 1B, where heroes are captured and allies remain in hand. Best of luck!
Cards removed
The following cards are removed from the encounter deck for various reasons at the start of the game. This increases the density of Nightmare cards in the encounter deck, and remove any of the easy cards that the normal version of this quest still had.
- 2x Dol Guldur Orcs (Easy enemy)
- 2x Enchanted Stream (Not a thematic location)
- 1x Great Forest Web (Not a thematic location)
- 3x Mountains of Mirkwood (Not a thematic location and removes card draw)
- 2x Caught in a Web (Could have broken the game in single player mode if both copies attached to remaining heroes)
- 1x Necromancer’s Reach (Probably to slim the encounter deck a little, there are still several copies in the encounter deck)
- 1x Necromancer’s Pass (Easy location)
- 2x Under the Shadow (Replaced by Sentinel of Shadow, which doubles the effect of this card)
- 2x Tower Gate (1 quest point non-immune location, very easy to get rid off otherwise)
- 1x Iron Shackles (Pretty easy encounter card, especially in multiplayer)
The Quest

If you have read the setup portion of this article, then you have probably gotten as far as you are going to get. Flipping over the quest card will trigger the added rule on the new nightmare card that captures more heroes, which is done at random. At that point, you can usually reset the game, as you have no chance of winning anymore. Thanks for playing!
The Encounter deck
Yeah, I won’t bother showing you the stats, you won’t make it past setup in most cases.
Enemies
The following enemies are added to the encounter deck, and may show up during setup, after which they will be burried in your deckbox since you won’t play this quest anymore.
- Torture Master: 5 threat on an enemy is rough, especially if you reveal this guy early or even during setup. While not terrible during combat, his 5 threat will likely cause you to underquest, which can combo horribly with Sentinel of Shadow. The When Revealed effect also makes the Labyrinth worse (adding even more threat to the staging area), and will tick down the timer on Torture Chamber. The shadow effect on this enemy will capture any defending hero that might take damage by the attack. The controlling player is then down (another) hero, which usually calls for a scoop.
- Crazed Captive: Better get your threat reduction ready, as this enemy will raise each player’s threat by 7 when it is defeated. Don’t bring Thalin to the quest, as that will kill this enemy immediately. When engaged with players, the Captive won’t attack for much, but will get nasty shadow cards that are going to be troublesome. Use a Forest Snare if you can. But even if this guy isn’t engaged with you, you might end up raising your threat by 7. If the attacking enemy gets the Captive as shadow card, and they aren’t defeated by the end of the round (which is often the case with enemies like Ungoliant’s Spawn, Chieftain Ufthak, Spider of Dol Guldur, and the Nazgul), then the defending player must raise their threat by 7 as well. Hit this too many times, and your deck will either engage more enemies than you can handle, or you threat out.
- Spider of Dol Guldur: This is the toughest enemy introduced in this set, and will surge 9 times out of 10. That’s because the Spider will surge when there are still unclaimed objectives in play. Since the Spider would be revealed if you get it during the setup portion of this quest, it will drag out another encounter card for you to go up against. But the real killer here is the shadow effect on the Spider. A +3 attack for each unclaimed objective in play will kill any and all heroes during the early and mid game. A potential +9 attack is enough to chump every attack, since you will otherwise lose a hero because of this. Shadow cancellation really is key with all three enemies here.

Locations
The locations in this quest have a unique mechanic where they build up resources during the game. If they get too many resources too quickly, you will die either a slow death, or a quick one, depending on the location. Placing resources is the main focus of the new encounter deck, so getting either of these locations into play will be dangerous.
- Torture Chamber: The first location will cause an automatic loss if it ever gets 4 resources on it. In order to achieve this, the encounter deck has several cards that place resources on the Chamber, including a fun little surge-train of Catacomb Inspection. This threat of losing the game will mean that you have to divert all progress to this card if possible, before its Forced effect can place the fourth token. This location gets terrible in higher player counts, and demands location control. Whether that is progress placing cards like Evening Star, or cards that straight up discard it like Heirs of Earendil, I will leave up to you. But know that if this location remains in play for too long, it is an automatic loss. Getting multiple Torture Chambers out is usually a scoop as well.
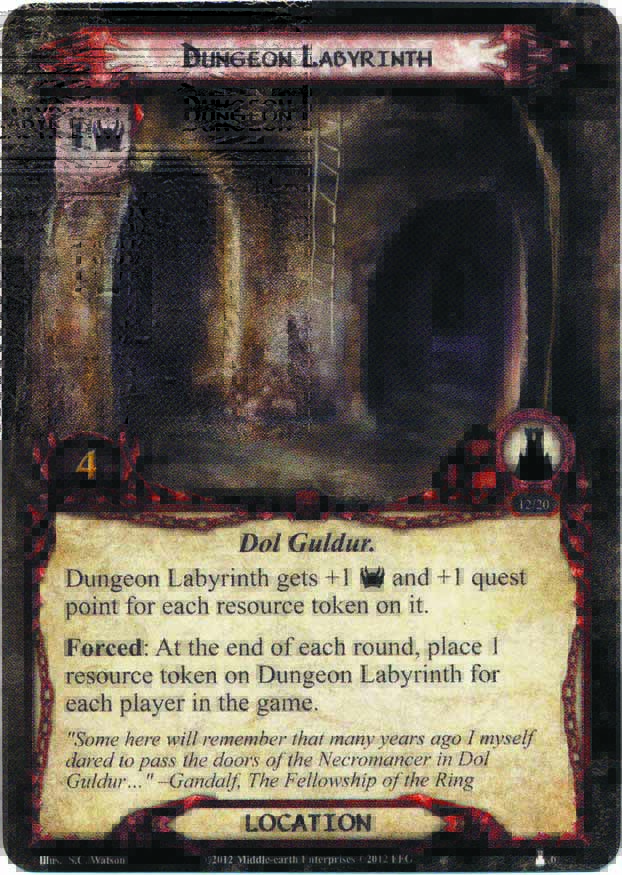
- Dungeon Labyrinth: The Labyrinth starts out easy enough, but will grow in size quickly. For each resource on it, the location gets an extra point of threat and an extra quest point. This even triggers while it is the active location. This can set up a location lock really easily, since the players won’t have a lot of willpower at the start of the game. At the end of each round, the location will receive a resource from itself for each player in the game. This means that in one turn, this can grow to a 5 threat, 8 quest point location in a 4 player game. And that is without counting potential resources it gets from the Torture Chamber or various other effects. Thror’s Key will blank the first copy of this location, but that still leaves 2 others in the encounter deck for you to worry about.
Treacheries
You might end up revealing these treacheries, but you probably won’t survive long enough to see them all. Still, the art is pretty, and the effects are worth a read before you reset the game.
- Sentinel of Shadow: Pretty menacing art for a menacing card. This uncancelable treachery is a straight upgrade from Under the Shadow, doubling its effect. This can lead to the card being a potential 8 threat in the staging area. If this hits in the early game, then the players will likely lose the quest and will have to raise their threat accordingly. But that’s not all. The treachery will then also put the Nazgul of Dol Guldur into play from out of play, and puts it engaged with the first player. There is little hope for you after that since the Nazgul will start to discard characters and deal a lot of damage to an unprepared deck. If this hits before the first player is ready for it, then it is game over.
- Catacomb Inspection: This lovely treachery will place a resource on each Dol Guldur location in the game, ticking down the clock of the Torture Chamber, and raising the threat of any Labyrinth in play. Luckily, it is only one resource, and not one per player. But wait, the card also surges, potentially setting up a chain where you hit both copies of this card back to back. The shadow effect on this card can be even worse, as it strips away resources from your heroes that you would have hoped to use during the next round. Instead, these resources get placed on Dol Guldur locations in the staging area. If all of your heroes had a resource when this effect hits, then all three resources go to a single location. The effect then keeps resolving for each location in the staging area for as long as there are locations in play, or resources on your heroes. Combine this with the Forced effect on the new locations, and you are either looking at a ton of threat in the staging area, or a tortured hero, in which case: game over.
- Dark Interrogation: I hope you don’t like having cards in your hand, as this treachery will discard all but two cards from your hand. Luckily, you do get to choose which ones you will get to keep, but in the early game, that is a rough choice to make. On top of that, if a player cannot discard cards since they already have 2 or fewer cards in their hand, then they must reveal an additional encounter card. This means that if the treachery hits two times in a row, all players will be down to 2 cards in their hand, and they have to reveal X extra cards, where X is the number of players in the game. The shadow isn’t any better, discarding any cards that the defending player controls that have a copy in the discard pile. This is a horrible combo that can wipe out a boardstate in the late game. When undefended, all players have to resolve this effect, potentially ending the game then and there.

Tips and Tricks
- PLAY ANYTHING ELSE IF YOU WANT TO HAVE A GOOD TIME. (That is all)
.
.
.
.
.
- I suppose you can watch this video by Seastan on how to tackle this quest: https://www.youtube.com/watch?v=4wNPgs9XDSM
Playthroughs
You must be either very brave, or very stupid to stream a game of NM Dol Guldur and put it online, but thankfully we have two content creators who pushed through and published videos of them walking through the scenario.
- True solo, Seastan deck: https://www.youtube.com/watch?v=0AdkF31nxHg
- Two handed, Progression style: https://www.youtube.com/watch?v=f4euaXWkbNc
- Two players, BoF decks: https://www.youtube.com/watch?v=pMZkMJElWgo
Obviously, this analysis is part of this year’s April Fool’s joke. If there is a real need for some players that I analyze this quest in earnest, then let me know and I will see if I can update this article with actual helpful strategy in the future. You can also look up this video where Seastan goes over the quest! For now, you are better off playing any other (NM) scenario in the game! Hope you enjoyed 😉

I haven’t actually played this quest but the analysis looks spot-on, joke or not. Good job on it!
LikeLike