
The very first encounter card revealed by the vast majority of players of this game is the Forest Spider. Ever since then, Spiders have appeared in over half the cycles of the game, establishing them as one of the premier enemies in the game, after the unmatched Orcs and their ever present supporting Wargs. And while some quests might feature Spiders heavily, such as Passage Through and Return To Mirkwood, this is the first non-Saga quest that makes them the primary focus. During the lead-up to this cycle’s release, rumour had it that one of the quests was heavily inspired by a classic 80s movie. For my money I reckon this was that quest, drawing influences from the evergreen action movie Aliens. So if you would like to experience those same feelings of claustrophobia, exploration and frantic combat with your cards, then look no further than this quest. Light your torches, sharpen your swords and prepare yourselves for a descent into the caverns below the desert.
Beneath the Sands
- Found in: Beneath the Sands Adventure Pack, Haradrim Cycle 3
- Official Difficulty: 5
- Community Difficulty: 6.1
- Encounter Sets: Beneath the Sands, Harad Territory, Desert Creatures
- Quest Cards: 3
- Play if: You have no arachnophobia, or if you have a vendetta against all things Spideresque; you want to experience one of the most atmospheric, thematic quests in the game; you enjoy mowing down hordes of weak enemies but also want a decent boss at the end.
- What is different about this quest?: The final boss appears before the end, but you can not kill it until the last stage. The On / Off Track mechanic. Things get harder the closer you get to your goal. This quest is paced in waves, with fluctuating difficulty depending on whether you are On Track or Off Track
- Solo or Multiplayer?: Either really. More players means there’s more chances to pull cards that could cripple your efforts, and you are more likely to bring up a Surge train of cards. But you will also be able to better handle the swarms of enemies that will come at you, and more likely to avoid location-lock with more tools at your disposal.
- Can I bring Side-quests?: Absolutely. This is actually advisable as for a large proportion of the time you will not be able to place progress on the main quest, so you may as well be putting them toward something worthwhile.
The Quest

First thing you need to do is familiarise yourselves with the On Track / Off Track Mechanic. This is one of those quests where reading the rules insert is essential to being able to play the quest. Included in Beneath the Sands is a double-sided Search objective: One Track / Off Track. This objective represents whether or not the heroes are heading in the right direction to find their missing companions. When setting up the scenario at the beginning of the game, the players are instructed to add the Search objective to the staging area with the Off Track side faceup. While Off Track is in play, players cannot place progress on the main quest because they are searching in the wrong direction. This is the ideal time to embark on Side-quests like Gather Information or The Storm Comes to make sure your deck runs as smoothly as possible. Also note that while progress cannot be placed on the main quest, you are still able to explore the active location. Now at the end each quest phase you are Off Track, you must place 1 progress on the objective. Then, the players must either return the topmost location in the encounter discard pile to the staging area, or raise each player’s threat by 1 for each resource here. If you go for the former, this is most likely to be the location you just explored, representing the heroes becoming lost and disorientated in their wanderings.
Track is a keyword that represents the heroes’ efforts to locate their missing companions somewhere in the spiders’ labyrinth. After the players travel to a location, if they are off track, they discard X cards from the encounter deck, where X is the active location’s Track value. If any of the discarded cards has On Track printed in the lower right corner, then the players flip the Search objective to On Track. If the encounter deck is ever empty while the players are resolving the Track keyword, shuffle the encounter discard pile into the encounter deck and continue resolving the Track keyword. When the Search objective is flipped from Off Track to On Track, discard all resources on it. Some locations have a higher Track value than others, meaning that if you travel there you are more likely to get On Track. There are 12 locations in the encounter deck, 2 of which cause the players to become On Track automatically, but add the Brood Mother to the staging area as long as you are at that location. Otherwise, there are 6 locations with Track 2, 2 with Track 3 and 2 with Track 4. In normal mode, of the 39 cards in the encounter deck at the beginning of the game there are 15 with On Track in the lower right corner, meaning that in a vacuum a Track 2 location has about an 84% chance of hitting an On Track card, Track 3 bumps that up to 93% and Track 4 has us at 97%. Ask me in the comments for my method if you like. But the problem is that we never play in a vacuum. Enemies will be engaged with you and locations will be in the staging area. But the takeaway point remains, the higher the Track value, the more likely you are to become On Track.

While On Track is in play, progress can be placed on the main quest, but the scenario becomes more challenging because the spiders grow more vicious as the heroes draw closer to their lair. While you are On Track, at the end of the quest phase, search the top 3 cards of the encounter deck for a card with ‘On Track’ in the lower right corner, add it to the staging area and discard the rest. If no card enters play from this effect, flip this objective. Alternatively, if you quest unsuccessfully then flip the objective to Off Track. The objective always flips to Off Track at the beginning of each new quest phase.
The obvious benefit of being On Track is that you get to place progress on the quest, and with only 5 progress needed to get through each quest phase and the additional condition of killing the Brood Mother at the end, on the face of things this quest can theoretically be rather a short one. Remember that the Objective flips to Off Track at the start of each quest card, and it conventionally takes a Travel phase to return to being On Track, so you will be looking at a minimum of only 4 turns here. However, there are a multitude of effects that can flip the objective to Off Track in an instant, such as failing to quest successfully, potentially leaving you with a whole pile of progress that ends up being wasted. There is some benefit to trying to avoid being On Track as the enemies are not as vicious, the locations are not as threatening and the treacheries are slightly gentler, which will allow you the opportunity to build up your forces in preparation for when you decide to progress. But the longer you remain Off Track, either the more locations will get added to the staging area or the higher your threat will be raised.
Setup

Put aside the Brood Mother and the On Track / Off Track objective, setting it to Off Track. This means you will not be able to place progress on the quest during your first quest phase, so now would be an ideal time to attempt any side-quests that you may have in your hand. The Storm Comes or Gather Information are always good and solid choices to get your deck up and running, while Rally the West or Keep Watch will give you solid boosts to your forces throughout the course of your game. In order to be able to flip the Objective to On Track, you will need to travel to a location and trigger the ‘Track’ keyword, which we have discussed above. Now this also means that Off Track will trigger at the end of the first quest phase, and unless you have managed to clear a location very quickly, which is certainly possible with cards like The Evening Star, you will be raising your threat by 1 at the very beginning. Not a massive hindrance at this stage, but something to bear in mind.
Quest Stage 1: Searching the Caves

Right at the very beginning of the quest you must discard cards from the encounter deck until a location has been revealed for each player in the game. Roughly one third of the encounter deck are locations, so it shouldn’t take you too much time to find the requisite number of locations. In normal mode the average threat of your locations at this point is 2.5, so you will need to be able to have enough willpower to counter that, as well as anything else the encounter deck throws at you in the staging step, in order to avoid raising your threat from failing to quest successfully. One last thing to note is that given over half the locations in the game have the On Track marker written in the corner, this will actually make it harder to get On Track in the first turn. However given that you will probably want to build up your board state before advancing means that this probably isn’t all that bad of a thing.
Quest Stage 2: Getting Closer


This is where the pressure will start to build. First of all the Objective is flipped back to Off Track. Not only that, but the encounter deck is reset and an enemy is added to the staging area for each surviving player, which isn’t too bad for a single player but could be threatening in a four player game if they were to all gang up on one person. Given that you are Off Track, Hive Guardians will not hit as hard, so if there is ever a time to pick them off before the final conflict, it is now. But more than this, and here is where things can get insidiously damaging, is that encounter card effects cannot be cancelled. This means for this stage your copies of A Test of Will or The Door is Closed are effectively useless, as are your Dunedain Lookouts, Halfling Bounders, copies of The Master Ring and of course Eleanor. You will need to weather any copies of Injured Companion or Forced Off Track that come your way. One way to side-step this prohibition can be found is with the event Quick Ears. The Quest Stage prohibits the cancelation of quest card effects, whereas Quick Ears cancels the card in its entirety. Of course you will have to exhaust a Dunedain or Ranger hero to do so, and you will need to replace that encounter card with a different one, but if you can side-step being forced to go Off Track at a crucial moment then that may be worth the effort. But all in all, this is not a round when you would want to spend too long, only enough time to make the final finishing touches to your forces before you face the Brood Mother.
Quest Stage 3: The Spiders’ Hive


This final stage is the climax of the quest. Here you will live and die by the preparation you have been able to do in the run-up to this point. Once again the Objective is flipped to Off Track, but this time the encounter deck is not reset. The first player then adds the Brood Mother to the staging area who, according to the text on her, will immediately engage the first player. Before you can damage her, you need to place at least 5 progress on here, requiring you to be On Track, and if you fail questing at any point then you are put back Off Track. This is especially bad here because if you do go Off Track then all progress is removed from this stage and the Brood Mother once again becomes impervious to damage. Now is the time to save your copies of A Test of Will to avoid being forced Off Track by treacheries, costing you valuable time and effort. Here is also the place where scrying becomes the most helpful, as you can see whether or not you are able to return to being On Track when you travel to a location, and potentially rearrange the encounter deck with cards like Interrogation to ensure that you stay on whichever side of the Objective you would like to be on. One trick for getting to the 5 progress mark in the same turn you become On Track would be to use Tactics Legolas with a Blade of Gondolin and some readying to kill off an enemy or two, place progress on the quest as a result, and then leave the Brood Mother open for attack. But however you do it, once you are able to place the 5 progress on this stage, be ready to hit the Brood Mother with everything you have. Only target other enemies if you cannot finish off the Brood Mother this turn, as when she goes the quest is won.
The Encounter Deck
The cards found in Desert Creatures and Harad Territory have already been looked at in Escape from Umbar and Desert Crossing, so we won’t revisit them here. Instead we shall be taking a closer look at cards found within the Beneath the Sands encounter set.
Global
 Once the On Track / Off Track objective and the Brood Mother have been removed from the encounter deck, there are 39 cards in the encounter deck. In easy mode, again after On Track / Off Track and the Brood Mother are removed, you’ll find 32 cards.
- In normal mode 64% of cards have a shadow effec
 t, which is relatively high. Easy mode sees this jump up slightly to 66%.
 - The average threat revealed by an encounter card in normal mode is 1.6, assuming Pitch Black Tunnel is contributing 3 threat for your 3 heroes. In easy mode this drops to 1.5, again making the same assumption.
- In Enemy Territory (1 copy) and Grabbed by Spiders (3 copies in normal mode, 2 in easy) both Surge, the latter of which also boasts the only Doomed effect. This means that roughly 10% of the deck surges in either mode. When you are On Track however, all 5 copies of Spider Broodling surge as well, which means that in that state a full quarter (25%) of the encounter deck surges in both modes. Therefore in a 4-player game, the odds are that at least one card with Surge will be revealed, if not more. All the locations, except for the 2 copies of Spider Burrow, have the new Track keyword, which is discussed above.
- Immune to player card effects. Only the Spider Burrow is immune to player card effects, though it is worth mentioning that the Brood Mother cannot ever have attachments and cannot take damage, except when you have 5 progress on the last stage.
Objectives
- On Track / Off Track; Our chief discussion of this mechanic is above, as you really do need to understand this before you read further, so I will refer you to that. Just remember that while the quest is harder while you are On Track, the longer you remain Off Track, the faster your threat will rise, either through the progress placed on this Objective, or due to the mounting threat in the staging area, making it harder to quest successfully, and or return to being On Track.
Enemies
 Brood Mother: This is the Big Boss Enemy of the quest, sporting impressive stats across the board, including an impressive 6 attack that will make a dent in all but your strongest defenders. Until the final quest stage the only time when she enters play will be when you have traveled to a Spider Burrow. But you will probably want to avoid confronting her until you are ready to absorb her attack, as well as being prepared for the Spider Broodling that she summons at the end of each round that she is in play. When the Spider Burrow is explored she is set back aside, so you will need to clear that location as soon as possible once you have travelled there, or face her continual wrath. The reason for this is that until there are 5 progress points on Stage 3B, she cannot take damage for any reason. But what should you do if she does come into play? Well the first thing you need is a strong defender, such as Spirit Dain Ironfoot or Beregond with a Gondorian Shield, so that you can block her 6 attack without suffering any undue casualties. You need to also be aware that she engages the first player automatically. However with her engagement cost of 50, this means that she will always trigger Lore Pippin’s card draw ability, as well as the stat boosting effects of Hobbit Cloak or Dagger of Westernesse. But remember that every time you face her you will be On Track. That means the Hive Guardian will attack for 5 and Broodlings will Surge as they swarm to defend the Queen. When you face her in the final stage, be ready to kill her as quickly as possible. Remember that if you fail to quest successfully, or suffer from one of the nastier treacheries, you will go Off Track, which is especially bad in Stage 3 because if you are forced Off Track, all the progress on Stage 3 is discarded and the Brood Mother once again is immune to your damage. Killing her is your final hurdle, so after you weather her first attack in Stage 3 unleash all your strength upon her. Tactics Eomer boosted by a chumped ally, Guthwine and Firefoot will hit for 9, breaking through her 4 defense and dealing 5 damage and leaving you with only another 7 attack strength to come up with. Alternatively, his sister with Herugrim and Windfola can strike for a massive 15, with only 2 hit points remaining. You have plenty of tools to smite the Brood Mother with, just make sure you survive to get your chance and you don’t miss your shot.
- Hive Guardian: For most of the game the Guardian is a respectable enemy, with 3 threat, 3 attack and 2 defence. 5 hit points means it will not take a great deal to kill them off, but it will not be a dowdle either. With an engagement cost of 40, outside of a Valor deck you can decide exactly when and where you want to handle this guy.
 The vast majority of defenders will be able to handle his attack without the need for attachments, though obviously there is always a risk of shadow cards messing that up for you, which is something you need to be especially aware of in this quest. Once you are On Track, this beastie’s attack gets increased to 5, which is a much more dangerous number. With 3 of these in the encounter deck, you can reliably expect to come under attack from them in their boosted state at least once, especially with the amount of Surge you will come across when you are On Track. While the Brood Mother will consistently hit hard and so draw your strongest defenders, and the Spider Broodlings will overwhelm your action economy, the Hive Guardians will straddle that line and be the ones who are more likely to actually deal the damage to your characters. Take these down as soon as you are able, so that when the time comes to handle the larger problem of the Brood Mother, these Guardians will not cripple your efforts. Watch out for the Shadow effect on this guy as well, as it has the potential to turn an undefended attack from a Spider Broodling into a punishing blow.
- Spider Broodling: Individually these will not cause you a great deal of trouble, but when you are On Track he will Surge, which has the potential in this quest to start a Surge-Train. Unless you are in Secrecy, the Broodling will be engaging you, but with only 2 attack by itself you shouldn’t have a great deal to worry about. The problem only really comes if you are stretched with your action economy and undefended attacks start leaking through, and you are unable to put them down. Of course this is every Dunedain’s dream scenario, especially if you can get a Vigilant Dunedain up and running. The Shadow effect on the Broodling compounds this issue, putting it engaged with you and dealing it an all new Shadow Card, mirroring the Goblins found in The Seventh Level and The Long Dark. Direct damage should be able to knock these guys down easily enough, such as with a Gondorian Spearman or Argalad, or use Tactics Legolas or Blades of Gondolin to get bonus progress points on locations every time you kill one.
Locations
- Spider Burrow: This location is immune to player card effects, so you are unable to deal with it while you leave it in the staging area. This means that in order to get it out the way you need to travel there and explore it the good old-fashioned way. The objective gets flipped to On Track, so if you are having a string of dire luck with the Track keyword then this is a surefire way of getting to progress from one Quest Stage to the next. Of course once you do travel here, there will be a Brood Mother there waiting for you. At the very least you will have to face 1 attack from the Brood Mother and an extra Spider Broodling in the staging area before you can explore the Spider Burrow, and by travelling to here you will be On Track, so any Hive Guardians you have will hit you harder than it will do otherwise, the Cobwebbed Cavern will contribute more threat and the Blocked Passage will prohibit you from putting progress in the staging area. Contributing 3 threat to the staging area means that you will need to travel here at some point, but be sure to save it for when you are prepared to face the various hurdles that come from being here.
- Pitch Black Tunnel: This location has the potential to stall your deck, and potentially short-circuit it out altogether. 5 progress means that it is harder to complete while it is still in the staging area, unless you have a deck dedicated to exploring locations in the staging area, with multiple Northern Trackers, The Evening Stars or at least one copy of Heirs of Earendil. But the really deadly part is the fact that the threat contributed with this location is equal to the number of characters you control. If you are running an ally heavy deck, in later stages of the quest that could potentially reach double figures. Now other than the traditional ‘travel and explore’ means of dealing with this location, you have two real options here: threat mitigation, and nuking this place from orbit. With the former you could be looking at reducing the threat contributed by Pitch Black Tunnel using things like Familiar Lands or Power in the Earth. Given how high the threat that could be contributed by this location is however, these may not end up making much of a dent. Mirkwood Pioneer could work, but the problem here is that the usual way of getting him into play is during the planning phase, which means that you would have left the Pitch Black Tunnel in the staging area for a turn longer than you really ought, but if circumstances have conspired against you to force you into that corner, then the Pioneer would not be a bad option. Of course the easiest thing would be to cancel out the threat altogether, something for which there are a few options. Secret Paths will serve you in this regard for a turn, as would Explore Secret Ways if you were to have both copies out at once. Now I would be remiss if at this stage I did not mention Bombur.
 Given that every single location in this quest is one with the Underground trait, this escalates the value of Bombur far and above where he would normally be in the scale of utility. This location in particular can by itself justify the inclusion of Bombur as by exhausting he can easily negate 6 or 7 threat at least. His value will increase as more allies are in play, so be sure to get him out reasonably early. Traveling here will reveal another encounter card, so you need to be prepared for that. ‘Reveal’ is the important thing here, because if you are On Track this has a 25% chance of triggering Surge. Depending on how well established your board-state is, you may be tempted to try and side-step this travel cost with Mariner’s Compass or South Away which, given that it avoids you having to deal with another encounter card, is no bad thing at all. Once it is the active location, you have a lot less to worry about. In fact when you have travelled here, play Ghan-buri-ghan to project your willpower up through the roof.
  Nest of Vermin: With no active text, other than the Track 3 keyword and the travel cost, there really isn’t a reason why you couldn’t leave this in the staging area other than the 3 threat it contributes when you quest. 4 progress to explore it is certainly not a vast amount to handle in the staging area, especially with the wide variety of location control tools that you have. A bouncing Meneldor can clear it in one round, an The Evening Star or Asfaloth will take a chunk out of it and even a Rhovanion Outrider or Arod will be able to chip away at it steadily enough if given enough time. If you were to travel here, cards are discarded from the encounter deck until you come to a Creature enemy, which is then added to the staging area. Now you could wish to travel here to trigger the Track keyword, more on details on that can be found above, if that is the only location left in the staging area or if you do specifically want an enemy to kill. There are numerous benefits you can glean from engaging or slaying enemies, whether it is enabling various Dunedain effects, Foe-hammer’s card draw, Proud Hunter’s resource acceleration, dropping your threat with a Secret Vigil or even placing additional progress with TLegolas or a Blade of Gondolin. Feel free to use Scrying to predict what enemies are coming up and see exactly when the best time to travel here might be, according to how well prepared your deck is to handle each particular enemy. But on the whole, as locations go in this game go, this is by no means an urgent location nor much of a detrimental one. There’s not even a shadow effect for you to concern yourself with.
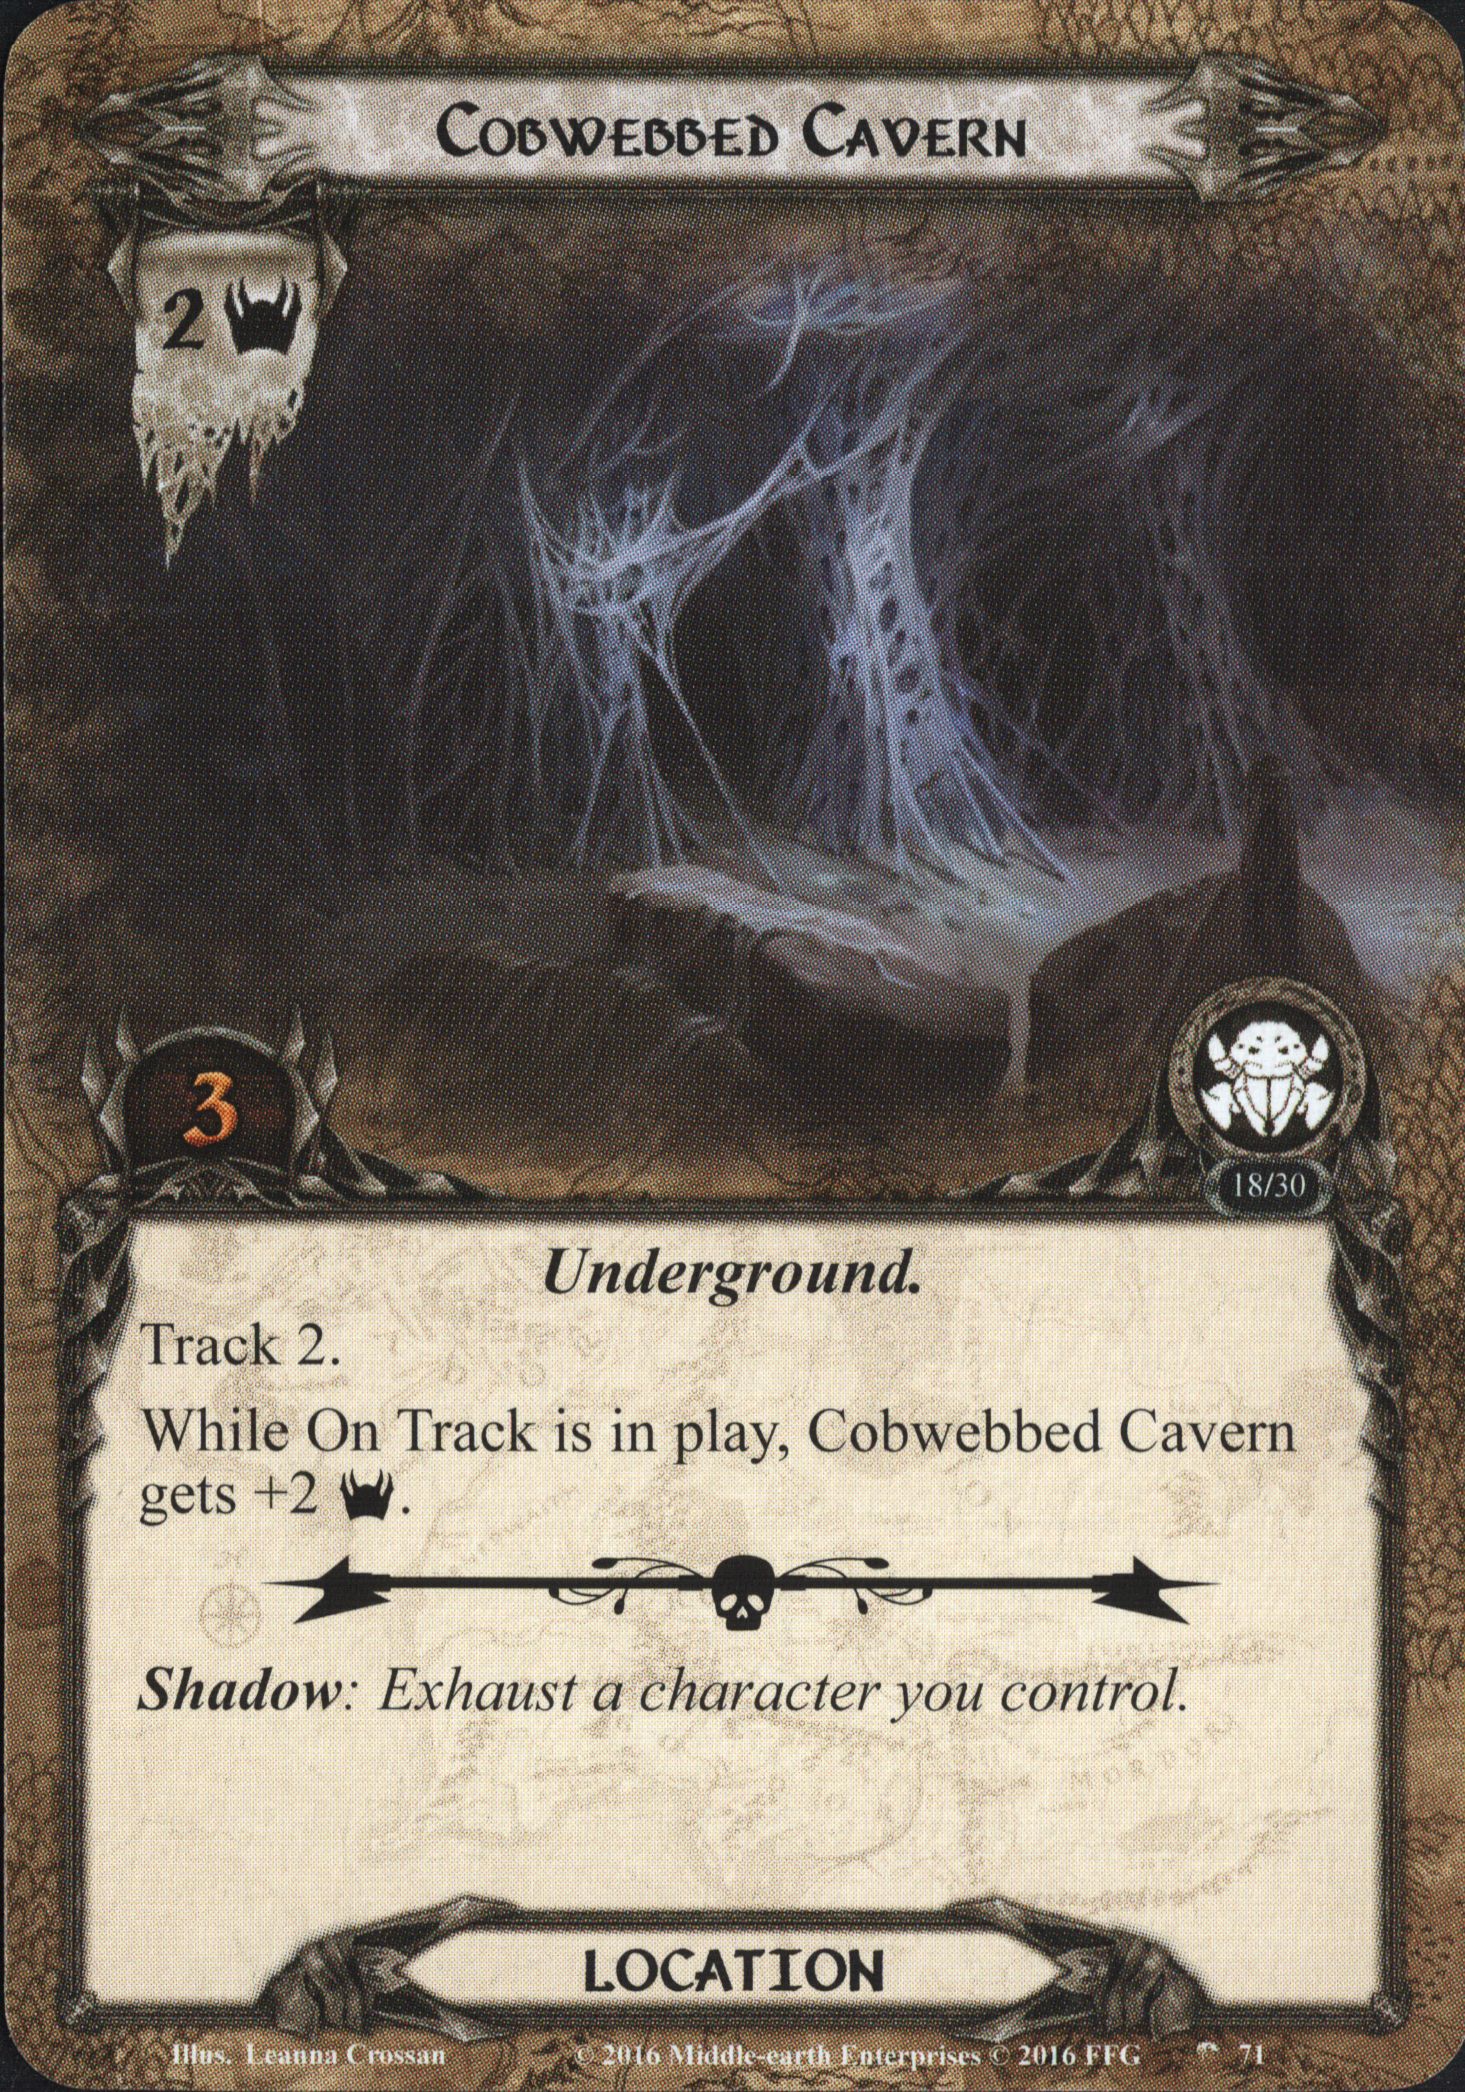
- Cobwebbed Cavern: As long as you are Off Track this location is relatively tame. 2 threat and 3 progress is hardly the game-dooming reveal that some other cards may prove. It’s just enough that Glorfindel with Asfaloth can’t quite clear it in one shot, but if you throw in a Steed of Imladris in there as well you could finish this one off in one shot. That’s just one example, but the problem comes when you go On Track. You see the threat doubles to 4 when that condition is met. Now when it’s just one copy in the staging area, that’s fair enough. An extra 2 threat probably won’t send you over the edge. But an extra 4 will be more likely to make a difference, and 6 could swing the scales against you. There are 3 copies of this location in the encounter deck, so you will certainly come across it before long. In actuality, this is probably the best location for you to pull out when you get set-up in Stage 1B, having less threat as you start Off Track, and relatively few progress before exploring it and keeping your active location slot free. There’s no travel cost to speak of, and even as a Shadow it isn’t too awful compared to other ones you could draw. The only thing to say about that aspect of the card is to be careful that you have the action economy to handle it. Having to exhaust your attacker in order to still be able to defend that one last attack will hurt, you never want to lose a chance to counterattack, but you will still be alive at the end of it.
 Blocked Passage: Here is the one location that can stop you dead in your tracks. Location control has been established as one of the key elements to surviving this scenario, the majority of which revolves around putting progress into the staging area. Now while Pitch Black Tunnel can stop you from questing successfully with a massive bump of threat in the staging area, given enough time and the proper tools you can explore it without ever needing to travel there. But this one will shut down your Northern Trackers, Rhovanion Outriders and your copies of Backtrack. You would not be able to use Explorers Almanac to get round this prohibition, neither Hithlain or Expert Trackers. You must explore this location the old-fashioned way, and until you do you will not be able to handle any location in the staging area. Of all the locations in this scenario, this is probably the one most deserving of Thror’s Key.
  Now by doing this you will not only get rid of the prohibition on progress in the staging area, but also the Track 2 keyword. Given the amount of locations in this quest that have this keyword as well this shouldn’t be too much of a problem for you, especially in the first stage of the quest when you start with a location in the staging area for each and every player. Otherwise, using Thror’s Key means that this location is reduced to a 2 threat roadblock in the staging area with a hefty 6 progress needed to complete it. This lump of progress is a sizable one, giving quest stages a considerable buffer before you are able to start chipping away at them, whether it’s the side-quests or the main quest. Obviously throwing more willpower will do the job, but as the quest goes on, enemies can begin to mount up and you might not have the action economy to commit the necessary willpower to see the job done. So what are some toys that can help you with this? We’ve talked above with the Pitch Black Tunnel about ways of making a location the active location without having to travel there, such as putting down a West Road Traveller to make sure you can explore Blocked Passage as quickly as possible. Let’s assume then that we have Blocked Passage as the active location, how do we make doubly sure we can explore this location as soon as possible. Well most in-game effects that place progress on locations don’t limit you to putting it in the staging area, that’s just where most of us usually put it. Asfaloth, Meneldor, Snowbourn Scout, etc, just say you can put their progress on a location, without specifying where.
  Personally I’m a fan of Map of Rhovanion in situations like this, which puts a progress on the active location after the attached ally commits to the quest. Some folk may ask why not just play extra willpower attachments? Well by being crafty with your sequencing of responses on your player cards, if you are able to explore this location during the staging step, you can wait to trigger your Northern Trackers until after this is taken care of. In this case, Blocked Passage would stop Northern Tracker placing a progress on each location in the staging area. But let’s say we’re running a Lore / Spirit deck here, with plenty of location control. Mirkwood Explorer could dump a handful of progress that he’d been saving up onto this as soon as you travel here, or you’ve used Ancestral Knowledge or Ride to Ruin to take a massive chunk out of it. Maybe you have put Hithlain on here so when you get your Lorien Guide, another good shout that illustrates this point as well, into play that’s another progress. Then it comes to your quest phase, and the first response you trigger is your Map of Rhovanion, putting that last progress on the Blocked Passage, opening the floodgates for all the progress to be placed in the staging area. Or you could just put a copy of Woodman’s Path on here and save yourself all that trouble.
Treacheries
 Forced Off Track: The clue as to what this does is in the name here I’m afraid: you are forced to go Off Track. You can avoid this if you are willing to deal 1 damage to each questing character, which could prove nasty. This would force ally swarm decks, which typically rely on cheap and weak allies to overwhelm the quest, to either go Off Track or face a wave of damage that may send the ship under. Now given how reliably you can often return On Track in the next travel phase, this shouldn’t be too much of a hindrance, only costing you an extra turn in the game. But given how quickly things can escalate with all the Surge effects there are, that extra turn may prove decisive. In other decks this damage could be avoided with Raven-winged Helm, Weather-stained Cloak or Don’t Be Hasty, but in decks with a healthy healing base this treachery will do little to slow you down, providing Craft Remedy isn’t kicking about. The problem for some players will come when this gets revealed while you are already Off Track, stripping you of your agency and forcing you to fulfil the second clause. If this is something that may cause your decks serious problems feel free to cancel this treachery, however in all but the most dire situations I think you’d be better saving your Test of Will for Enfeebled or Injured Companion.
- Grabbed by Spiders: Depending on how many allies you have, or on how good your questing game is, the worst part about this one may be the fact that it has Doomed 1 and Surge. This may never trigger if you finish the current main quest stage without going Off Track, or you may just have so many allies that the effect is negligible. Admittedly if you were going for a Fellowship or Harad deck that tend to rely on each of their allies pulling their weight then this can definitely have some serious bite. The worst time for this to come at you would be during the final quest stage, which you cannot complete simply by placing progress on and already has its own drawbacks for going Off Track. Moreover because you are facing the Brood Mother and her extra Spider Broodlings that come with her, your action economy will be stretched here the most, and so you can ill afford to be losing any allies. If you take condition removal with this in mind, save it for the last quest stage when you will need it the most. Power of Orthanc or Miner of the Iron Hills would be your best counters, or perhaps Ally Elrond if you can afford him and need his extra stats.
Side-quests
- Lost Underground: The first thing to note about this side-quest is that you are immediately thrown Off-Track. Any progress that you were going to throw at the main quest to progress to the next stage, or to allow you to make attacks against the Brood Mother, will go straight down the toilet. At the start of your game, this can actually be a benefit to you if you utilise this properly. This will allow you to travel where you need without having to worry about if you do go On Track when you may not want to, offering you a measure of control over the pace you can set. Any extra control you can gain over the encounter deck can be used to your advantage, even if it is only controlling when you halt and take stock. Don’t wait too long however, remember the Forced effect on Off Track makes you either return a location from the encounter discard pile to the staging area, or raise your threat by 1 for each turn you have been Off Track for. When you are ready, complete this side-quest and return On Track safe in the knowledge that you will stay On Track until the next quest phase. If you have TLegolas, some Blades of Gondolin or Ravens of the Mountain to place progress on the main quest outside of the quest phase, it is here that you ought to use them.
Tips and Tricks
- There will be times when you really need to be On Track, and moments when you would prefer to stay Off Track. Use scrying and encounter deck manipulation to dictate exactly when it would be safe to move forward, and when you can afford to stop and take stock. Interrogation is a fantastic card for this, especially when you can trigger it from a Trap on a Hive Guardian or a Sand Viper with their nice beefy threat, but Risk Some Light can work equally as well. A more limited version of this can be found with Firyal or Celduin Traveller where they may look at only the first card with the potential to discard it.
- A brace of Northern Trackers will go a long way to solving all of your location problems, barring of course a Blocked Passage. We have already talked throughout the article about the importance of location control in this quest, but it is worth mentioning here one last time. Take some.
- As every single location in this quest has the Underground trait, Dwarves find themselves with a few toys that they can use to their advantage. We have mentioned above the utility of Bombur, and briefly of Ancestral Knowledge. But we have yet to mention the massive boon Ever My Heart Rises is in the depths of Harad.
 For no resource cost, each Dwarf you attach this to can quest every turn that you travel as well as drop your threat by 1 and be ready for combat afterward. If you are here is no downside to using this in Beneath the Sands as many times as you can on as many Dwarves as you are able. Now one area the Dwarves can sometimes struggle with is location control, sometimes succumbing to location lock if they can’t explore the active location in time and keep the flow going. With Untroubled by Darkness, you will not have to worry about that here at all, giving every single Dwarf an extra 2 willpower as long as you have travelled somewhere. Use this with a LDain Dwarf army to blow up the quest phase when facing the Brood Mother, before slapping down Lure of Moria and massacring her in a blender of Dwarven fury.
 - If you have Tactics Legolas, a Blade of Gondolin or Ravens of the Mountain to place progress on the main quest outside of the quest phase, use them as soon as possible after you have returned On Track to finish out the quest stage and move onto the next one, reverting back to Off Track in the process. The less time you spend On Track the easier the quest will be for you, as long you keep moving forward regularly.
Playthroughs
Given this quest is relatively late in the game’s life-cycle and the fact that it tends to get overshadowed by other quests in the cycle, I have only been able to find one playthrough of it for your consideration:
- Single Player, Octgn, Mr Underhill: https://www.youtube.com/watch?v=FWCsh8cnAY4
Once the Brood Mother is brought low, lying on its back with her legs curling up into a ball as one last attempt to shield herself, the other spiders flee, lost and witless without their queen to guide them. Your heroes find their companions, still alive but terrified of the fate that was nearly theirs. As you step blinking into the harsh Harad sun, feeling the fresh wind on your face, within your hearts you know that your trials are far from over. But for now you rest, and recover from the horror that you found beneath the sands of Harad.

One thought on “Beneath the Sands”